Anytime you cut a hole in your van, it’s nerve-wracking! If you’re here because you want toinstall a van sliding window…you’re in the right place.
Adequate ventilation is crucial when living inside a van. A van sliding window will help reduce condensation, increase airflow, and allow you to see critical blind spots while driving!
Over 8 months, my partner and I built out a 2020 Ford Transit van all by ourselves. We learned everything from YouTube, blogs, and a few friends building their own vans.
However, we made a few mistakes along the way. I’m writing these blog posts to save YOU from making the same missteps.
How to Pick Your Van Sliding Window
Picking the correct van sliding window depends on what you want to use it for and your budget.
When picking van slider windows, consider where you want a view, which area to ventilate, and any aid to driving.
For example, we wanted a large window on the sliding door for 3 big reasons.
First, we wanted to see out that side when driving. The right side of a cargo van has a massive blind spot in that area without a window. It’s particularly hard when approaching an angled 4-way stop or intersection.
Second, we wanted a slider window there that offered the most ventilation possible with a screen for bugs. Our first van had a lot of windows, but they only hatched open minimally on the bottom and had no screens. Moreover, we put our Maxxair Fan in the back, so a window in the middle helps move air throughout the living space.
Third, we wanted a large window as our primary view from our bench seat.
Pro Tip: Buy your van sliding window from a place with good customer service reviews because if you even get any installation instructions, they won’t be great. We selected the AMA Passenger Side Sliding Window for a Ford Transit from Van Windows Direct. ⬅️ That’s the closest version to what we have on the market now (2024).
Van Slider Window Instructions
As with many parts of your van build, you will realize that most products don’t come with instructions (except the DIY Vancillary Shelf).
No instructions came with the AMA Van Sliding Window, however, we found some on the Van Windows Direct website.
Like any van project, YouTube had a few helpful videos as well.
Before gathering all the doors and parts, I called Van Windows Direct to clarify all my questions regarding installation, and the customer service representative was incredible! He patiently answered all my questions, and he gave me an overview of the process in case any more questions came up.
Below is the entire process of installing our van sliding window ourselves.
Disclaimer: I am not a professional van builder. This is simply the blog post that I wished I had when we installed a slider window ourselves. Do this project at your own risk.
Van Sliding Window Preparation
Start by gathering all the tools you expect to need. That way, if you don’t have something, you won’t get stuck with a hole half cut and need to go to the hardware store.
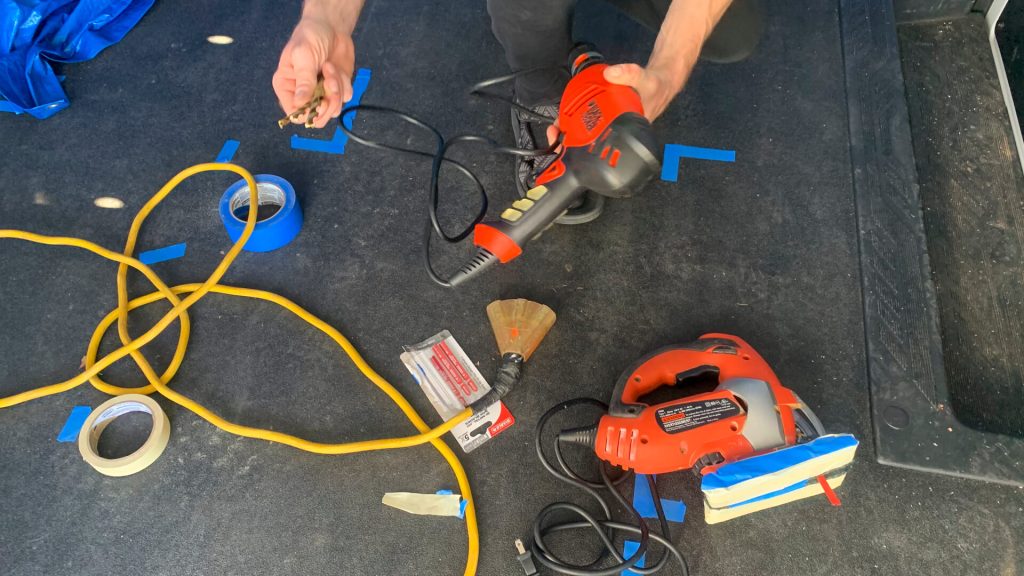
Tools We Used
- Drill
- Drill bit set
- Jigsaw with metal blade
- Straight edge/ruler
- Drop Sheets (to cover seats and catch metal shavings)
- Extra foam from the window
- Metal file
- Rustoleum
- Vacuum
- Trim Lock (length depending on the outer edge of your entire window)
- Mallet
- Rubbing Alcohol
- Automotive Primer
- Urethane
- Painter’s Tapes
Before Cutting Prep Steps
After we gathered tools, we covered the front seats with old sheets as drop cloths. We added two more on the ground to walk back and forth from outside the van through the back doors. **This is to try and grab all metal shavings possible! (Metal shavings left behind = rust later.)
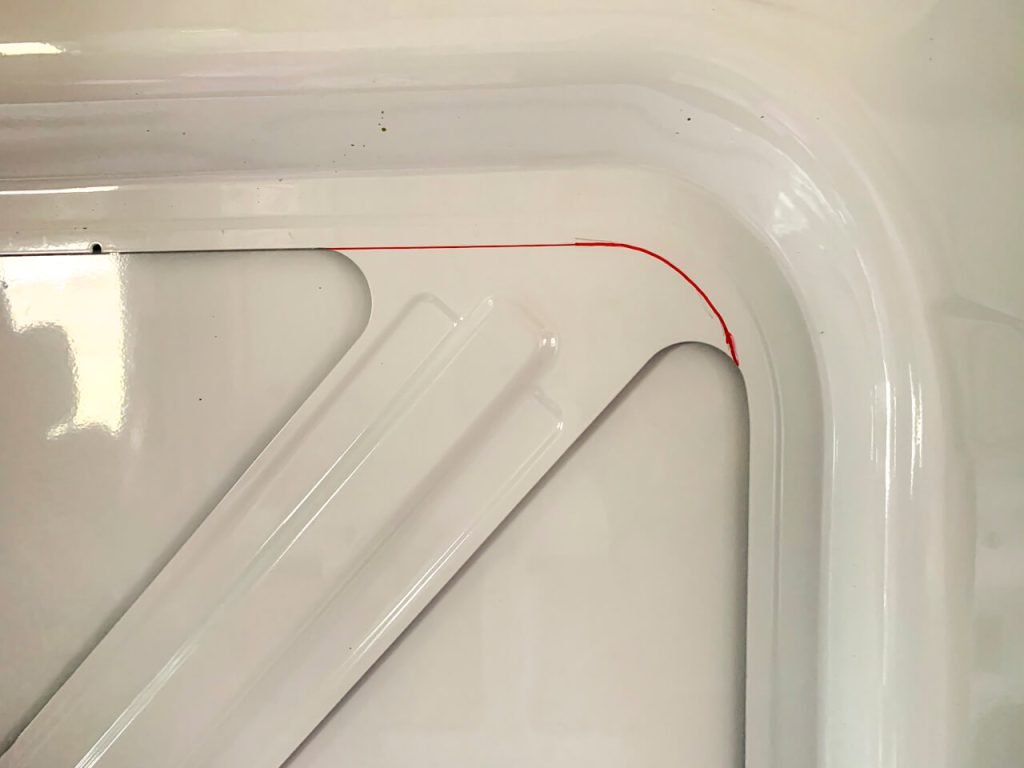
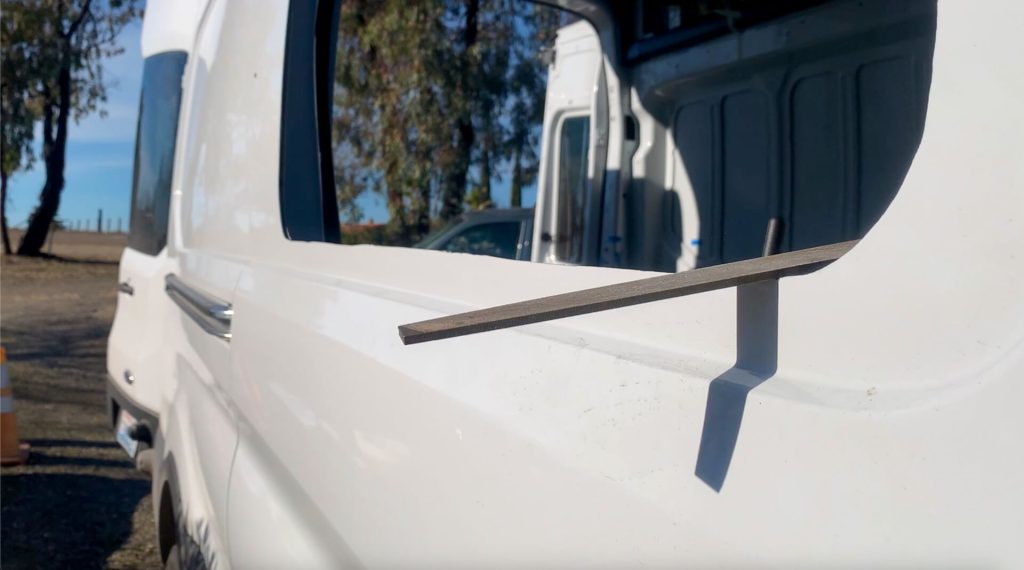
Next, we outlined where we wanted to cut with a Sharpie. We purposely chose a window that followed the factory imprint to make it easier.
Although, we still needed to use a straight edge to draw across the Y-shaped support. For the upper portions of the Y-shape, we traced the curve ½ inch from the edge to the factory imprint.
Cutting A Hole in Your Van for a Sliding Window
Anytime you cut a hole in your van, have a plan, go over it again, triple-check your measurements, and go slowly! This process was fairly similar to cutting a hole in the ceiling for our Maxxair Fan.
We *maybe* checked a lot more than three times before adding our van sliding window.
Here are the steps we took to cut a hole in our van for the slider window:
Pre-Drill Holes Bigger and Bigger Until You Can Fit Your Jigsaw Blade
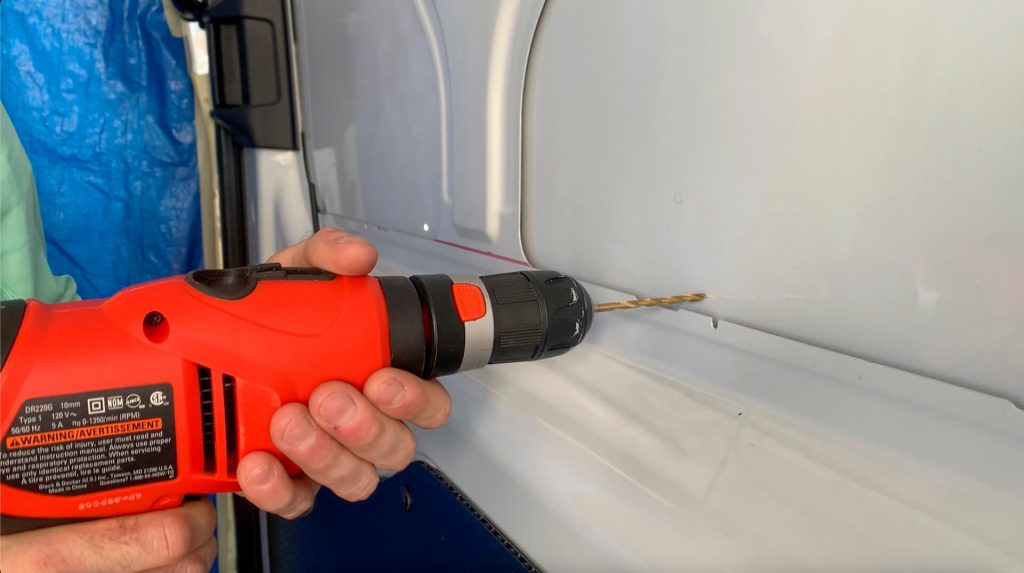
You’ll notice that it’s easier to drill small holes right off the bat than large ones.
We drilled a few holes around the outline so we could switch hand positions later on the jigsaw.
Each pilot hole was stepped up until we could easily fit the jigsaw blade.
Prep your jigsaw with painter’s tape, and if needed, add the harder foam that came from your van sliding window to the bottom of the jigsaw foot. This prevents you from scraping the paint off the inside of your van from the metal jigsaw foot.
The Jigsaw Job
Take your time and get in a position as comfortable as you can before you start cutting with the jigsaw.
Then, as you move between pilot holes, use painter’s tape to hold the metal that you’re cutting out in place. This is key to reducing the vibration. The less vibration you have, the easier your cuts will be.
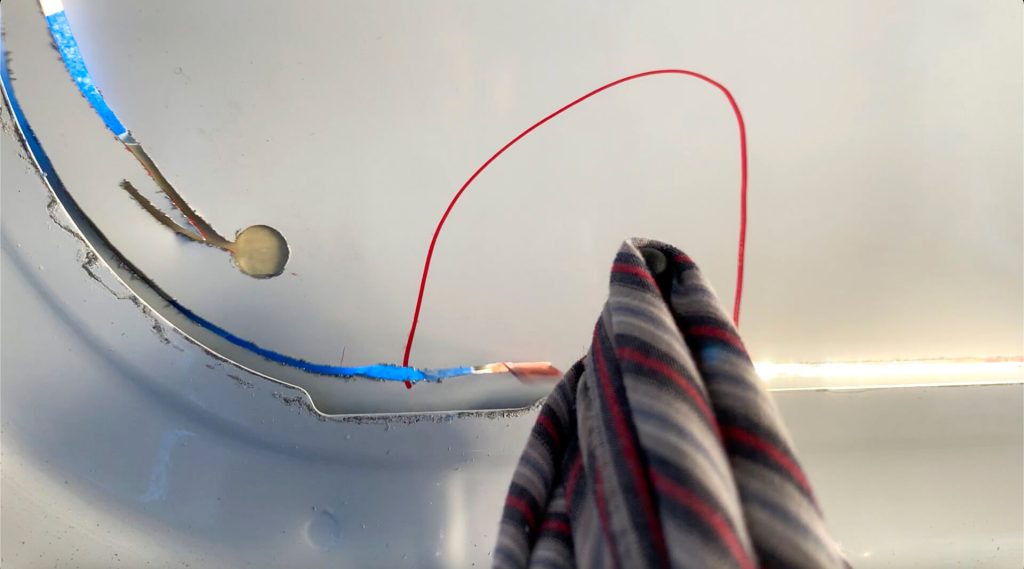
Lastly, beware of the sliding door lock! The old-school pull-up/push-down lock prevented us from cutting a 3-inch section from the inside of the van. This is where you need the foam on the jigsaw and two people. The inside person (me) used a rag around the lock to gently pull the door lock inward. The outside person (Karma) connected the two pilot holes around the lock from the outside with the foam on the bottom of the jigsaw, so the blade didn’t go as far.
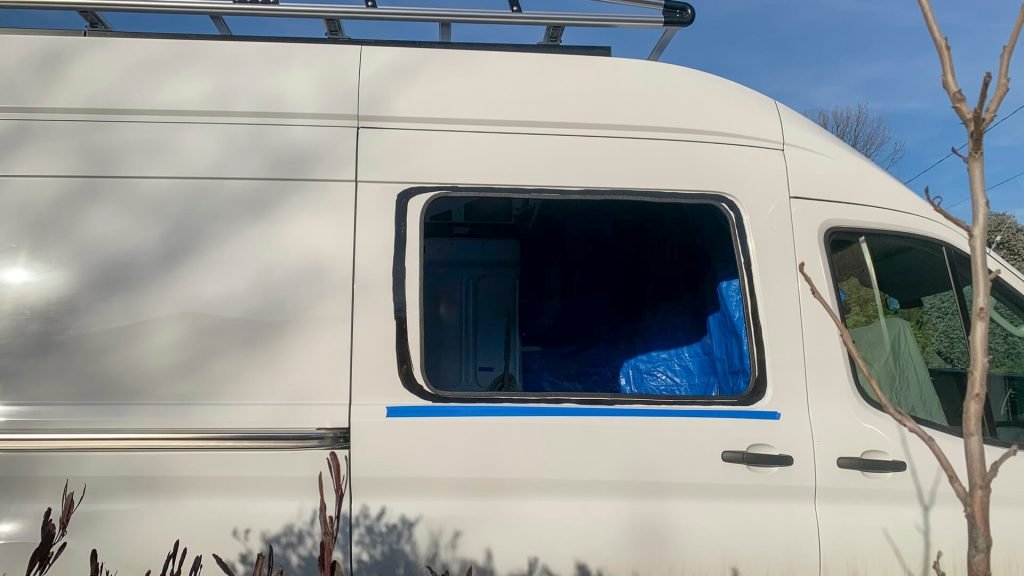
Plan to finish with a small straight section on the top of your van sliding window cutout because it will hold better while cutting the rest. Once you cut that piece, the most nerve-wracking part is complete!
Post Cutting Cleaning Before Sliding Window Installation
First, you want to clean up as many of those large metal shavings as you can to prevent them from rusting the surrounding metal.
We used a vacuum several times throughout this process to keep it under control.
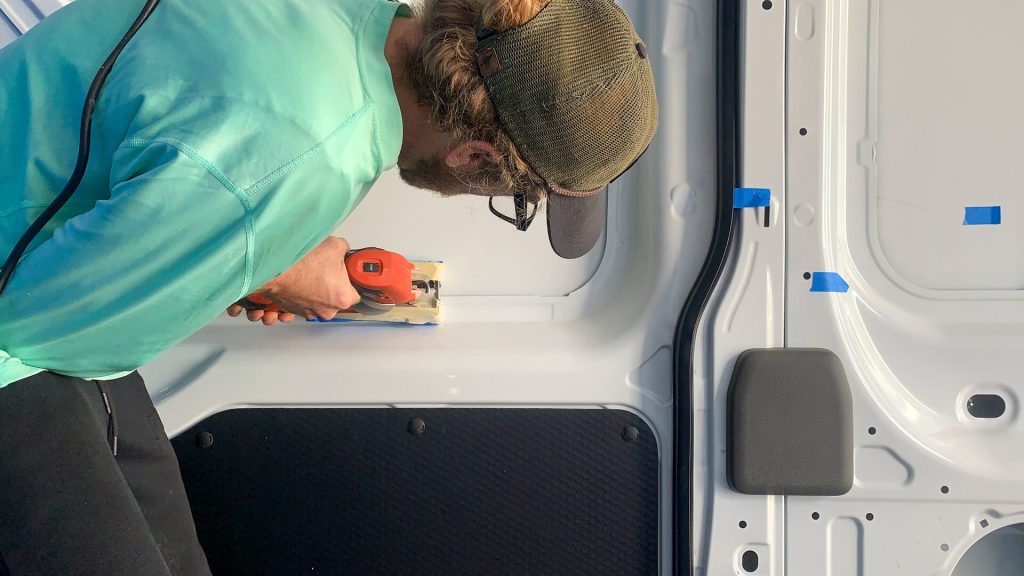
Once you’ve got the main metal shards vacuumed, grab your metal file and smooth ALL those freshly cut metal edges. This will likely be louder than you’d like, but it’s a necessary step.
When those sharp edges are sufficiently smooth, clean around the edges with rubbing alcohol to grab those super tiny shavings.
As soon as that’s dry, hit it with some Rustoleum to coat and cover the new metal edges.
While you wait for the Rustoleum to fully dry, go ahead and clean up. Don’t be shy about vacuuming again if you need to here.
Adding Trim Lock & Automotive Primer
Trim lock helps cover those raw metal edges, makes the van sliding window look neater, and is a key finishing piece.
You need to do this before you install the window itself.
Per the advice of Van Window’s Direct, you need to have the trim lock cover BOTH pieces of metal. Most YouTube videos (at least when we built our van) only put it over one piece of metal.
✨The Trick✨ that we found is to use the round side of a mallet to roll it on. This significantly sped up the process of adding trim lock.
Because we touched the outside metal during the trim lock installation, we cleaned it off with rubbing alcohol again.
Van Window’s Direct sent a specific automotive primer to add to the outside of the van before adding the urethane. We followed the instructions on the primer, applied it, and waited the suggested 10 minutes to continue.
Caulking Guns and Trust Ratios (Don’t Make THIS Mistake)

This was where we made our biggest mistake: we thought all caulking guns were the same. NOT TRUE. We made it work, but please don’t make this mistake.
Spend the extra money here and buy a caulking gun with a higher trust ratio. The most basic one in everyone’s garage is not good enough.
When working with polyurethane or urethane, you want a trust ratio of at least 26:1. Look for ones with “professional” or “electric” keywords in the descriptions.
You can do it with a manual caulk gun, but make sure that you warm up the urethane tube immediately before use. I held the second tube against my stomach skin while Karma used the first.
Prep your window to be ready to pick up and place as soon as possible after adding the urethane.
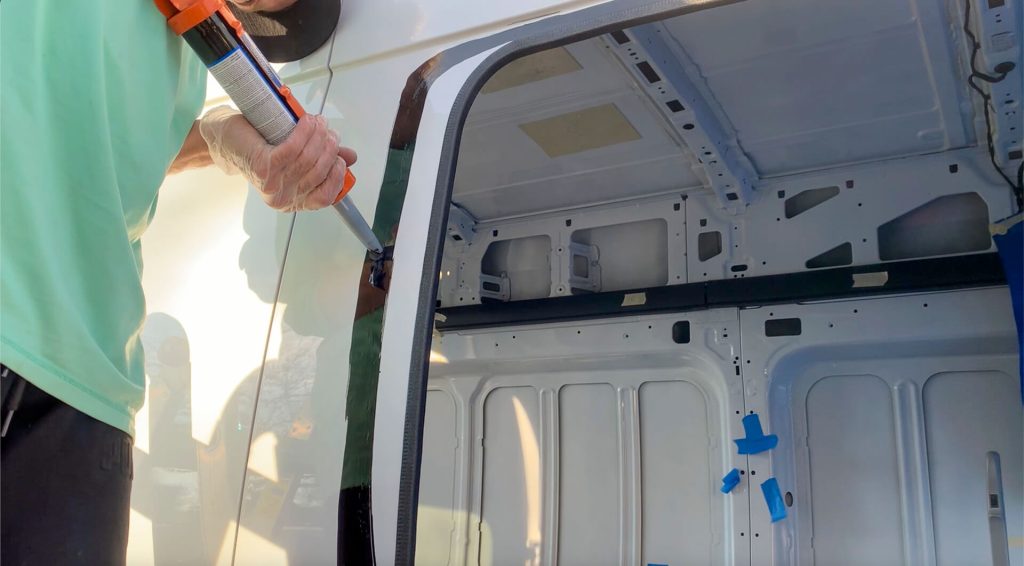
When the urethane is warm, and you have the right caulking gun, cut a V-shaped notch to make a large cone-shaped urethane bead.
Add this around the metal cutout on the outside of the van. This is what adheres your van sliding window to the van itself.
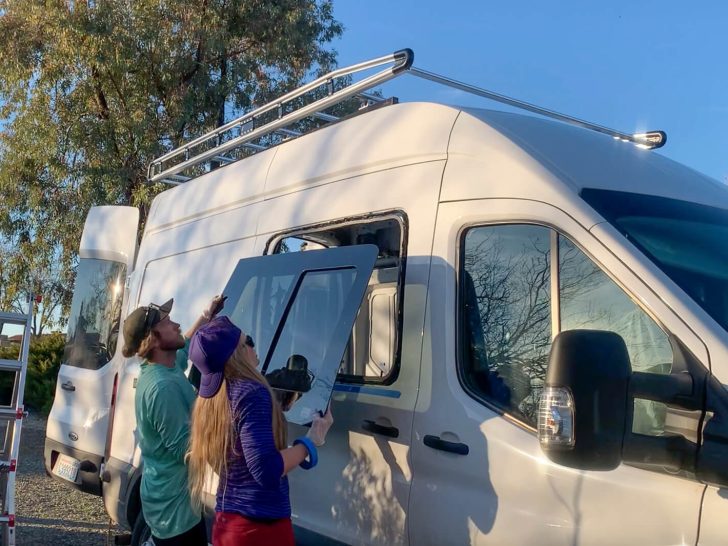
Placing Your Van Sliding Window in the Correct Spot
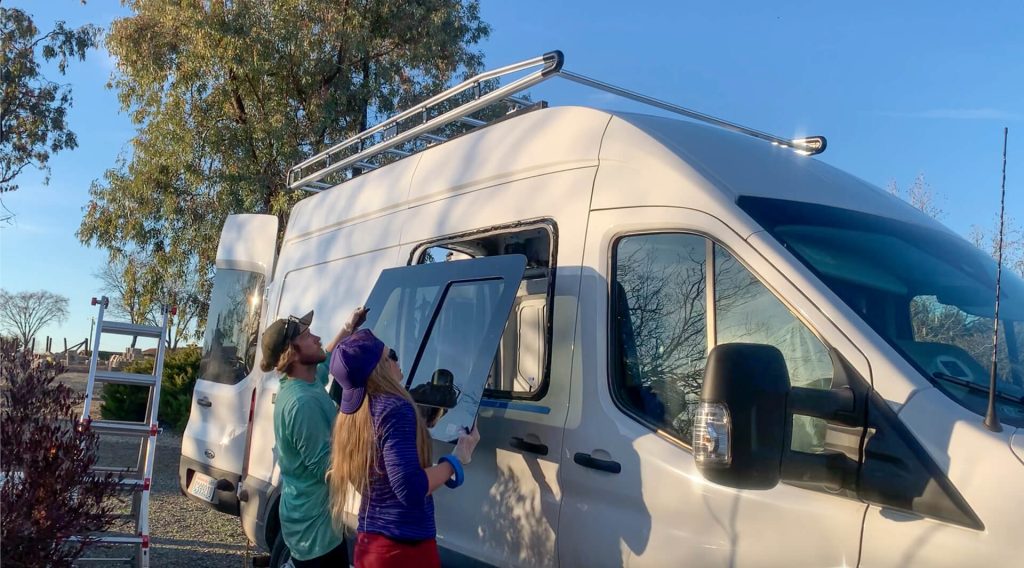

As soon as you’re finished with the urethane bead, hoist the van sliding window into place over the hole.
When you place it on, barely push the slider window on and step back. This allows you to see if it’s on straight!
Once it’s exactly where you want it, push harder to seal the deal.
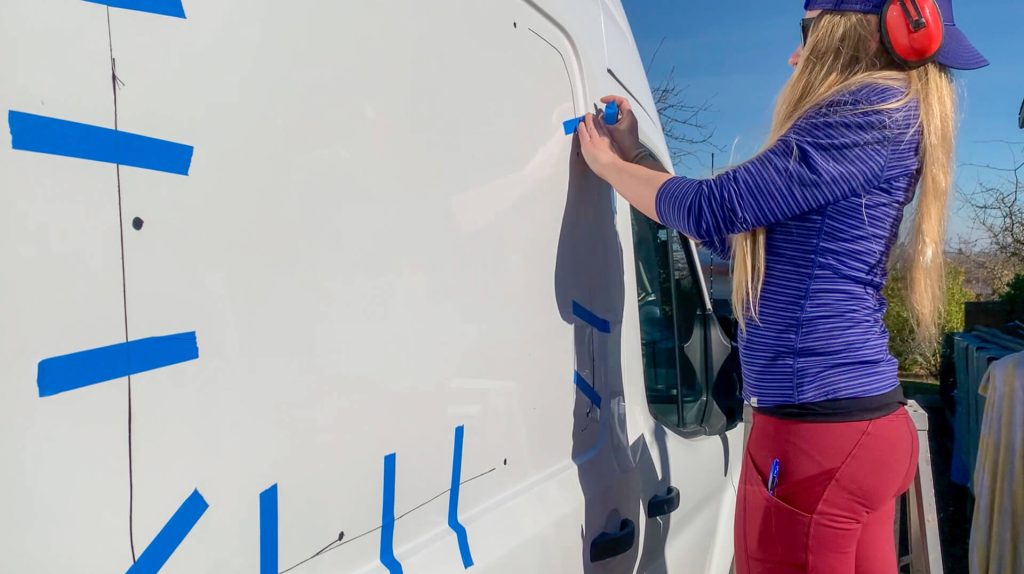
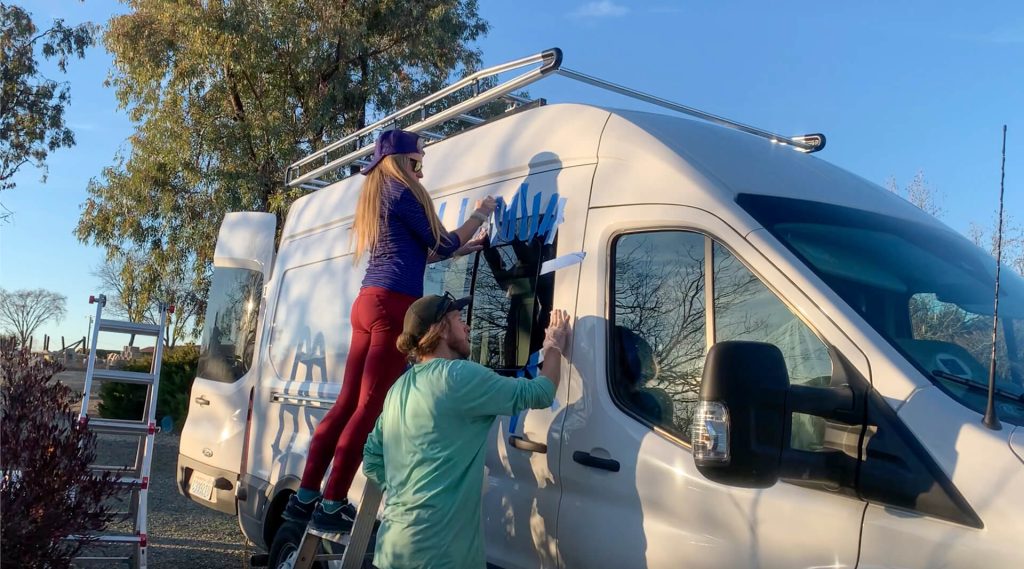
Have one person hold it in place while the other person uses painter’s tape to hold the window vertically as the urethane dries.
It’s ok to use excessive painter’s tape here to ensure it dries in the correct location.
Try not to allow the urethane to seep out. It’s messy and a big pain to fix!
Wait 24 hours before taking the painter’s tape off and driving, and you’ll have a beautiful van sliding window!
3 Year Review of our Van Sliding Window
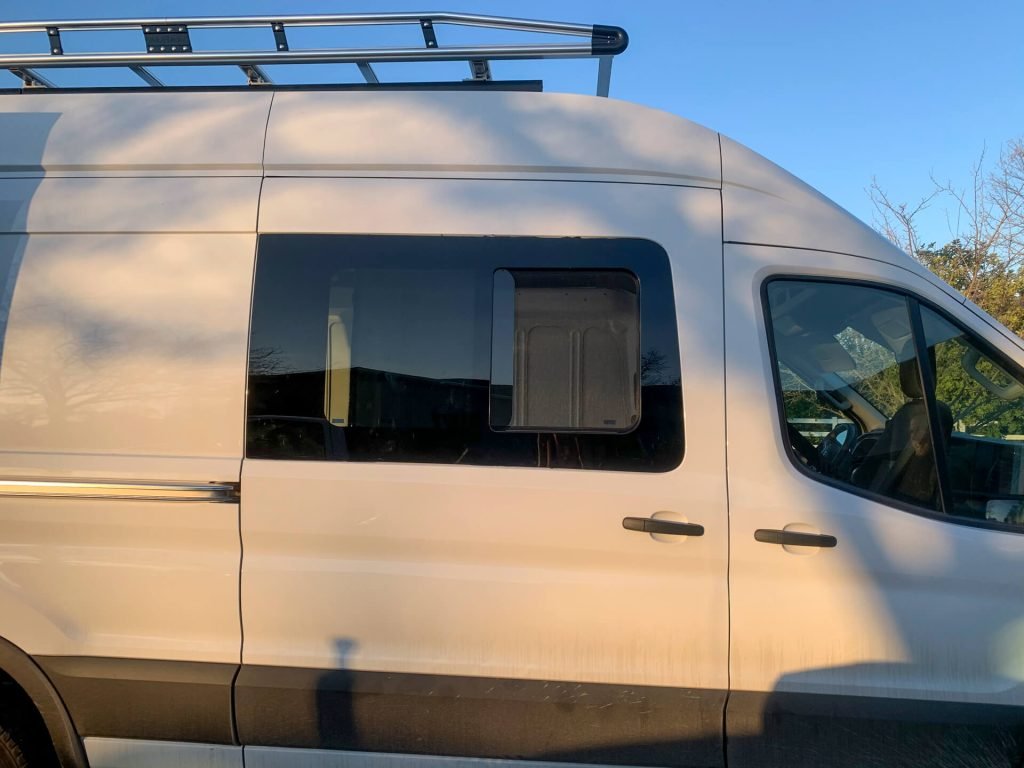
Our AMA van sliding window has lasted and held on fantastically over the last 3 years of van life. We consistently drive down 5-25 mile bumpy, dirt roads, and we’ve had no issues with the window.
The only minorly frustrating part is that the inside rubber track likes to bunch up. It can get stuck when we open the bug screen as well as the glass window. We’ve got a temporary fix of a plastic shim, but it’s not the best.
Final Thoughts
I hope this post helps you install your own van sliding window! I wrote the post that I wished I had back in January of 2021 when we built out our van.
If you have any questions, feel free to drop them in the comments, and I’ll get back to you.
Happy building!