
The Many Steps in a Great Van Subfloor
Building and insulating your van subfloor is an essential step in the van conversion process. While not glamorous, it does set your van build up for success.
If you’re at the start of your van build and feeling totally overwhelmed…I get it. You’re not alone.
While it seems like a never-ending project, your van’s subfloor is a manageable aspect that you can soon check off your list! Unlike other aspects of your van build, the van’s subfloor can be done without pausing to start another project and needing to come back to it.
Here’s our entire process for building our van subfloor in about one week. Take a deep breath, and let’s dive in!
Why Are There So Many Methods of Creating a Subfloor?
When you scan YouTube, Blogs, and Instagram, you will see hundreds of ways to create a van subfloor.
🤔 Why is this? Because everyone has specific needs in a van, everyone tweaks the subfloor to fit them.
For example, a very tall person over 6ft will want to raise the floor as little as possible. Or someone who frequently has freezing feet might raise the subfloor height to accommodate more insulation or radiant floor heating.
The number of decisions to make when approaching even something that seems basic is actually a little ridiculous. For real, check out YouTube (after you read this post, of course) for “Van Build Subfloor” and you’ll get a wide range of styles and options.
Our Subfloor Plan
After combing through video after video and blog after blog, we came up with our own plan.
We wanted both insulation and airflow with a strong foundation to hold our kitchen cabinets. This would also allow us to secure a bench seat adequately to the floor.
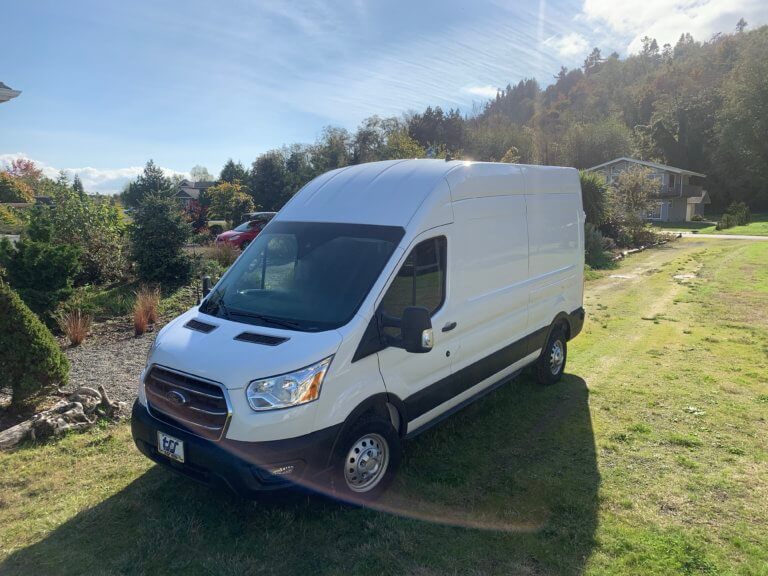
Since we are not the tallest of humans, we knew we could raise the floor a bit without difficulty. At 5’2” and 5’9”, we would have plenty of space. With nothing in the van, the Ford Transit’s High Roof option allows for 6’5” in the center and around 6’2” on the sides.
Materials and Plan:
1️⃣ We opted to use furring strips to increase the height to allow for insulation.
2️⃣ Our van subfloor insulation would be the same as the walls: Havelock Wool. We felt it would be the most mold-resistant option.
3️⃣ We wanted to make accurate templates, so we used some basic hardboard, which was easier to maneuver in and out a million times.
4️⃣ We knew we would want plywood as our main van subfloor material. We opted for a Birch with low VOC. This particular plywood is excellent for subfloors, but not for building cabinets later. (You’d want Baltic Birch for that.)
Van Subfloor Material #1: Furring Strips
We decided to use a set of furring strips as a starting point. This gives your van subfloor something to screw into.
It’s very important to use a strong, flexible glue to attach these, because the van is like a moving earthquake. We used Loctite Marine Adhesive. (4 years later, this is still holding strong!)
Since quite a few of them lay around Karma’s Dad’s garage, we opted to use what already existed instead of buying fresh wood. We felt it was more sustainable to reuse or use wood already on hand, even if it was not the most sustainably sourced wood at the beginning.
If you’ve never seen the bare bottom of a van, know that it is not flat. This is because flat sheet metal is very weak; thus, the floor is ribbed.
Depending on the length, a van floor will consist of 2-3 large sheets of sheet metal welded together.
Some people place their furring strips lengthwise in the van from front to back, aligning with these grooves.
We decided to place ours widthwise instead, with wool insulation in between them. The slightly indented ribs allow airflow beneath the wool and let it expand slightly.
Again, if we were tall, this might not be ideal. However, we are not giants, and my feet get cold easily.
Treating the Furring Strips (Waterproofing + Mold Resisting)


We knew from previous experience in our last van that the floor takes a beating. When we come running in from a hike in the rain, wet sandals leave muddy footprints on the floor. When we are cooking and accidentally knock over a water cup, the floor gets wet too. As we drop our soaking-wet backpacks, they land on the floor.
Therefore, we wanted to protect the van’s subfloor as much as possible.
This extra time spent waterproofing and adding a mold-resistant layer is repaid later when you don’t have to fix things.
1️⃣ First, we used two coats of Vermont Natural Coatings, a waterproof coating. This will penetrate the wood and keep other water on the surface if it reaches it.
2️⃣ Second, we applied two coats of Caliwel, a mold-and mildew-preventative. Is this overprotective? A bit. However, I really do not want to rip up the floor and replace it in the near future because of mold.
Because of the timing, adding these four coats took an entire day, beginning in the morning. The VNC needed to have the second coat applied while it was still damp. Thus, the first and second coats went on quickly. Unfortunately, we had to do both sides. So, we had to allow the first and second coasts to dry on the tops and sides. Then, we flipped them over and got a first and second coat on the bottom.
After the first and second coats of VNC dried, we could add the first coat of Caliwel. Unlike VNC, Caliwel required a minimum of 4 hours between coats. This meant that we could flip the furring strips and get the bottom as soon as the coat on one side dried, but we still had a four-hour gap.
Attaching the Furring Strips to the Van Floor
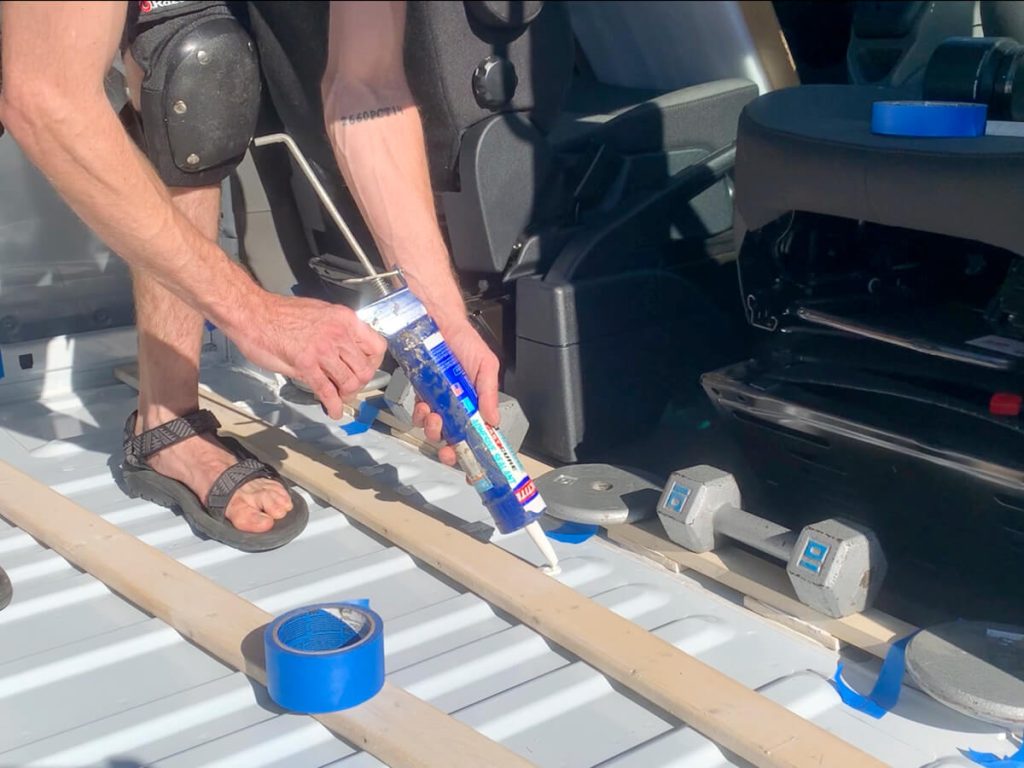
When you go to glue your van subfloor furring strips in, pre-work makes a huge difference in efficiency.
I recommend marking where you want each furring strip to go with painter’s tape beforehand. This way, if something shifts as you gingerly step around, it’s easy to fix.
Here’s where the van subfloor materials really come into play!
Since the van is a moving structure, we did not want to use wood-to-metal screws. Furthermore, we did not want that many small holes in the metal of the floor that wouldn’t get treatment.
Instead, we used a low-VOC marine Loctite adhesive. We’ve notices that van builders borrow from the marine folks a lot since both vans and boats have constant vibration. If at a loss for what to do, definitely check out marine websites.
After you methodically glue down your furring strips, gather a significant number of weighty objects. This will help the furring strips stay in place while the marine adhesive cures!
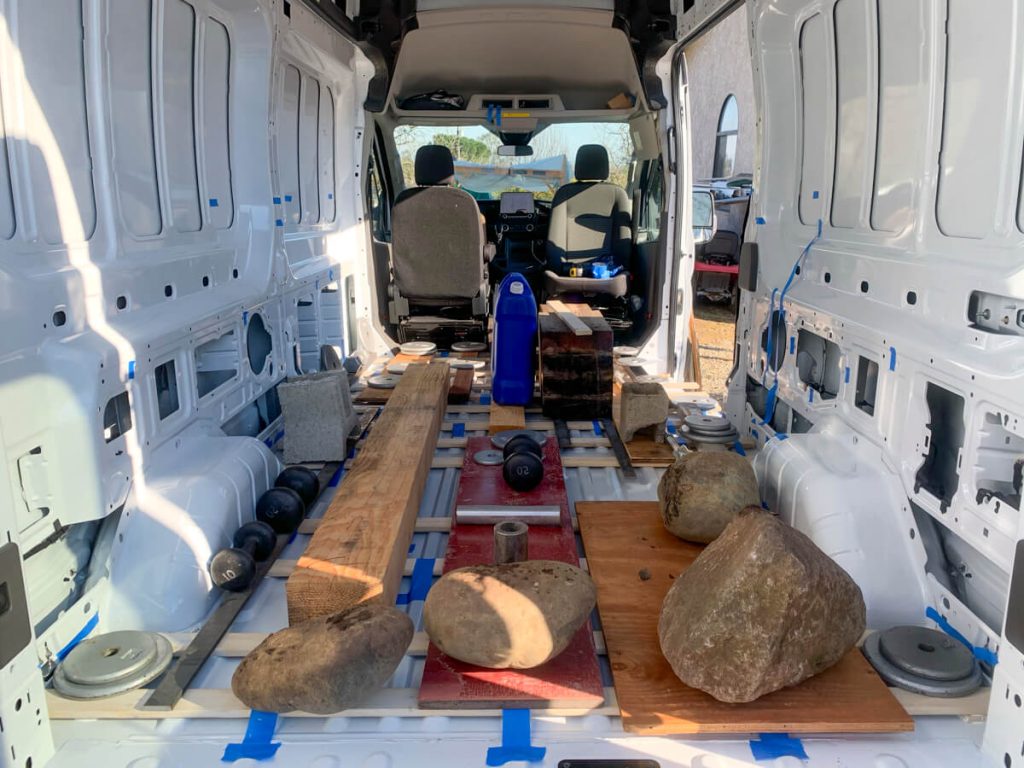
Starting with one strip at a time, we moved it back from its alignment and added dollops of adhesive on the ribs. Then, we realigned the furring strip per our marks and added weight.
While the adhesive was quick, it still had a 24-hour full cure time. Once we finished, we just had to wait.
Van Subfloor Template Design

After our allotted 24-hour wait, we removed the weights and were pleased with the furring strips.
It seems obvious to use the vinyl floor cover that came with the van’s interior upgrade package as a template; however, it did not translate well to wood.
Sometimes the cheap option is the best option.
In this case, the cheap option was 1/8-inch hardboard to use as a template.
We felt bad about it essentially being “wasted,” but it actually got repurposed into smaller and smaller portions for other templates.
When you first look at the van subfloor, you think it’s best to put one board completely in the middle and make a lot of smaller pieces to fill in around it. We did that on our last van, and it was a HUGE headache.
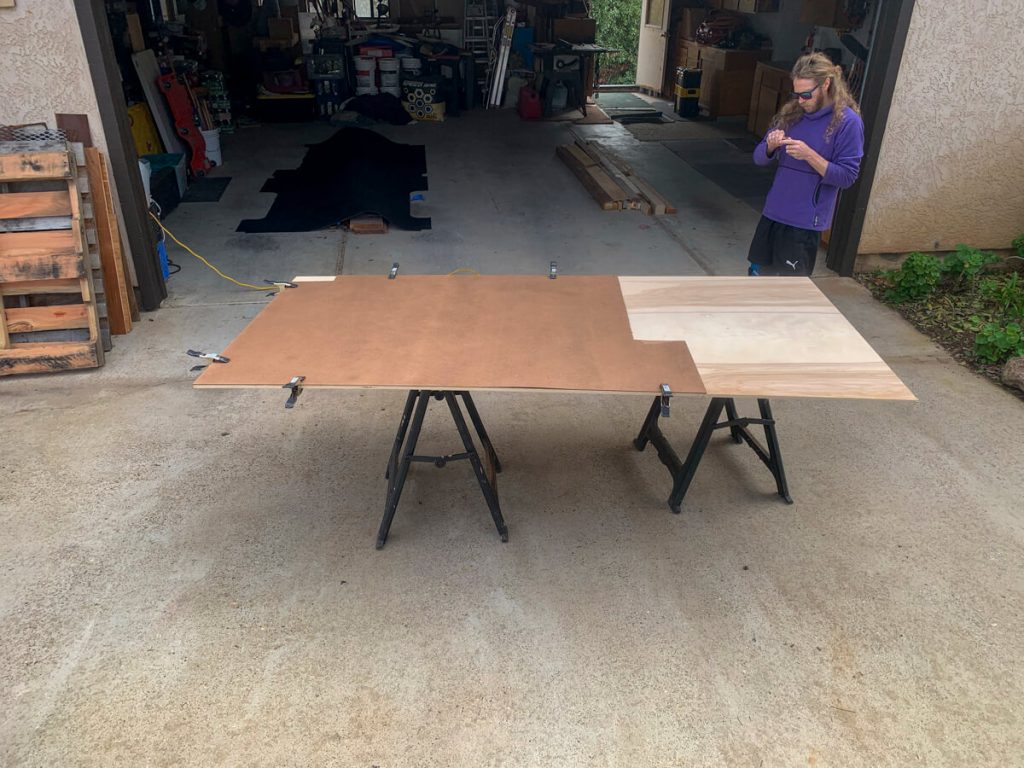
Instead, we used three 4×8 sheets of hardboard to match 3 4×8 sheets of Birch plywood. You’ll want to ensure that a furring strip supports your 4×8 sheets at their joints.
Like always, look out for curveballs!
We noticed that one pillar, right behind the seats, appeared to have a right angle. Not at all. Because of the door, the two sides of the second panel sheet were not as symmetrical as they appeared.

Be patient and take the time to create thorough templates! The more work you put into your templates, the better your van subfloor will come out.
As you can see above, we created three templates from hardboard and ensured they fit. It’s crucial to check them not only individually but also together.
Cutting the Van Subfloor Material: Birch Plywood
In researching plywood, we found out that most plywood contains formaldehyde. We didn’t want to add that to the build if we could help it. Thus, we opted for Columbia Forest Products Birch Plywood because it was made with soy-based glues.
A quick note on sustainable plywood. There is not much. The most sustainable option would have been hemp board or bamboo plywood. It’s very hard to find hemp board, and bamboo plywood costs around $300 per 4×8 sheet.
From what we found, this was the best option for a van subfloor because it’s not seen for long.
I would like to note that I do not recommend using this for building cabinets or boxes. Baltic birch is a much more durable plywood with more layers for cabinetry.


To cut the plywood for the van subfloor, we found that a super clean wood blade with 10-12 tpi worked best.
We used each template to cut one section at a time. As we finished cutting, we placed it inside to fit.
Because we spent so much time on our van subfloor templates, this process took about 1/4 of the time to cut.
Insulating the Subfloor
After ensuring all the plywood subfloor sections fit, we pulled them back out and began insulating our floor.
Through this process, we gained a great deal of knowledge about insulation. Traditional house insulation off-gasses chemicals, and it’s best not to breathe when installing it.
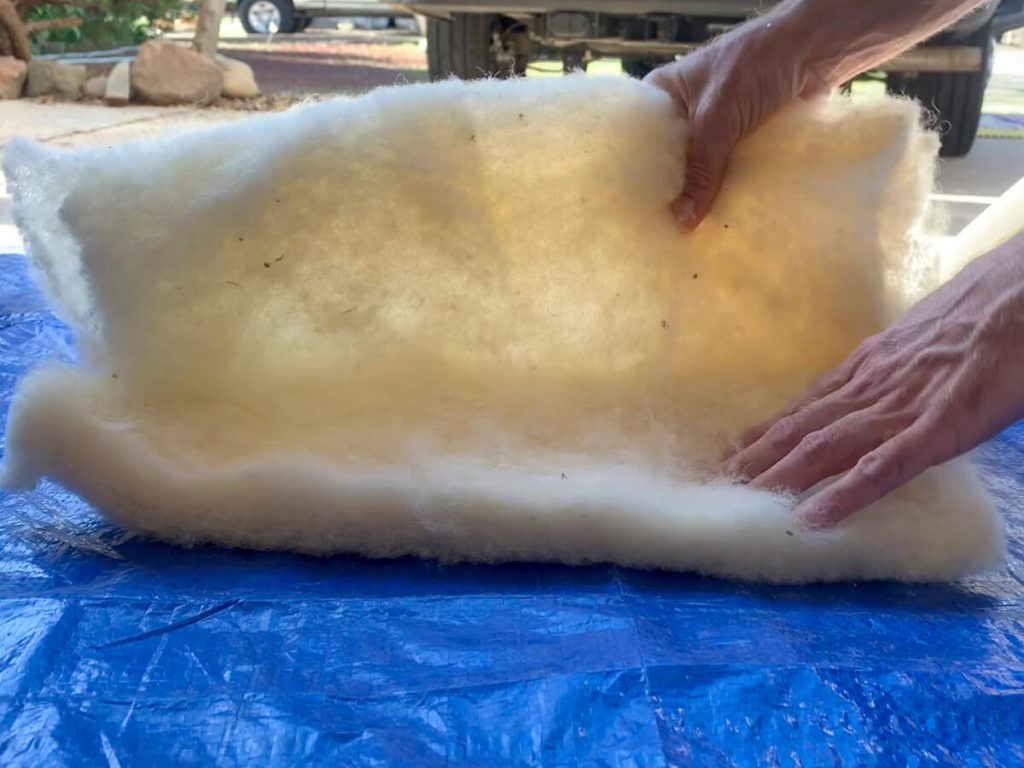
While we know the van floor won’t ever be toasty warm without underfloor heat, it will at least prevent it from being ice cold. We purchased three bags of Havelock Wool to insulate the whole van. Havelock sources ethically harvested wool and utilizes a machine to process the fibers into batts. No extra glue or string to hold it up.
For wool insulation to work well, it needs to have some air and can’t be totally squished.
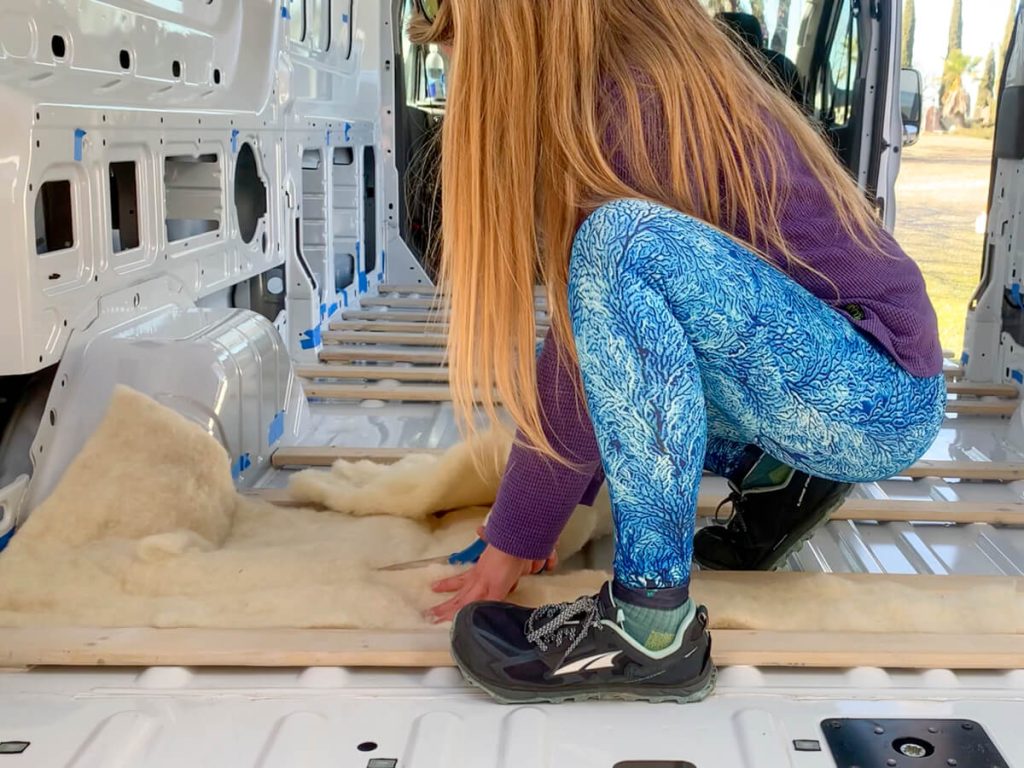
In our van subfloor, we noticed that half of the batt fit perfectly between our furring strips and the birch plywood subfloor.
Karma and I fell into a rhythm where he split the batts and I cut them to fit between the furring strips. We worked smoothly and efficiently. It also went surprisingly quickly. The wool smelled earthy, and we did not have to wear gas masks and gloves. To us, this was a win–win.
Insulating Around the Wheel Well
At this point, after we had insulated the floor, but hadn’t screwed in the plywood van subfloor.
There’s always one more step in a van build project, and that was insulating the wheel wells.
Most people create a plywood box around the wheel well and simply insulate the inside.
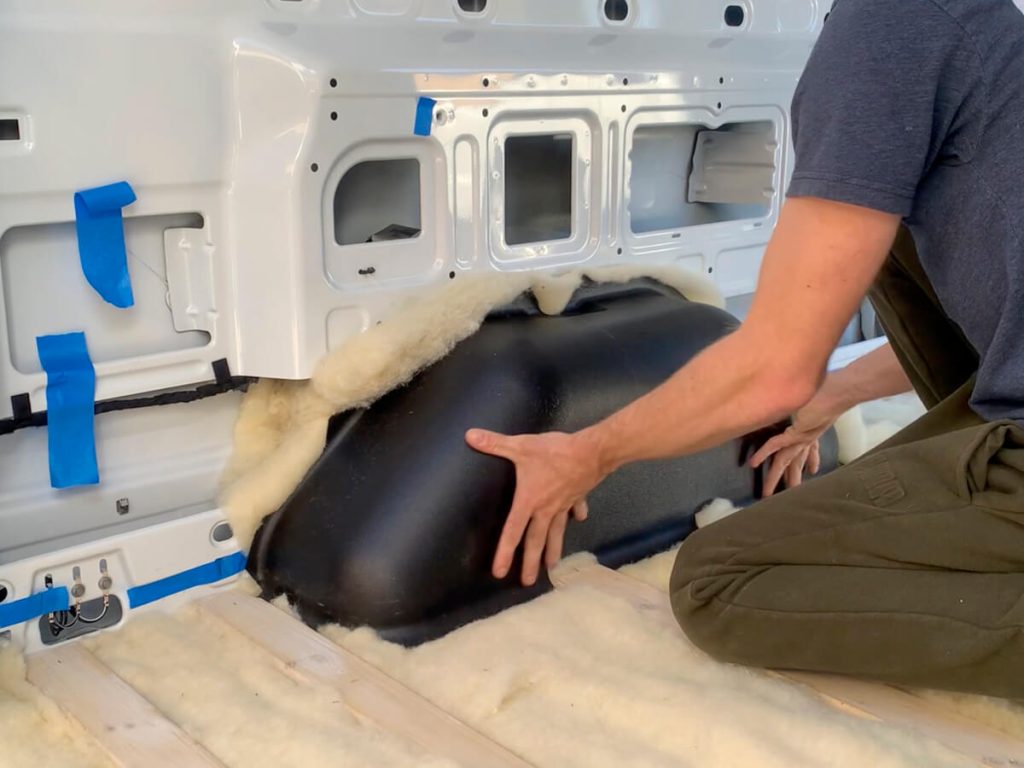
However, we chose to use the two wheel well covers from the extra interior upgrade package that came with our van.
We did have to modify the wheel well covers to fit around our new furring strips. It was nothing some scissors couldn’t handle.
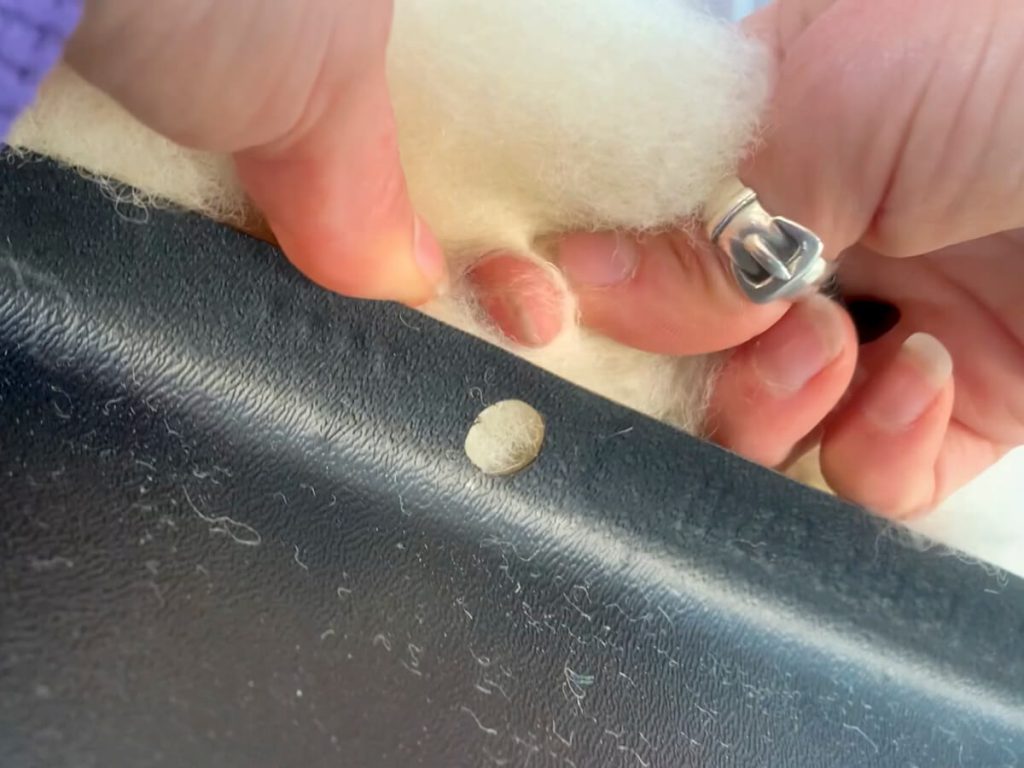
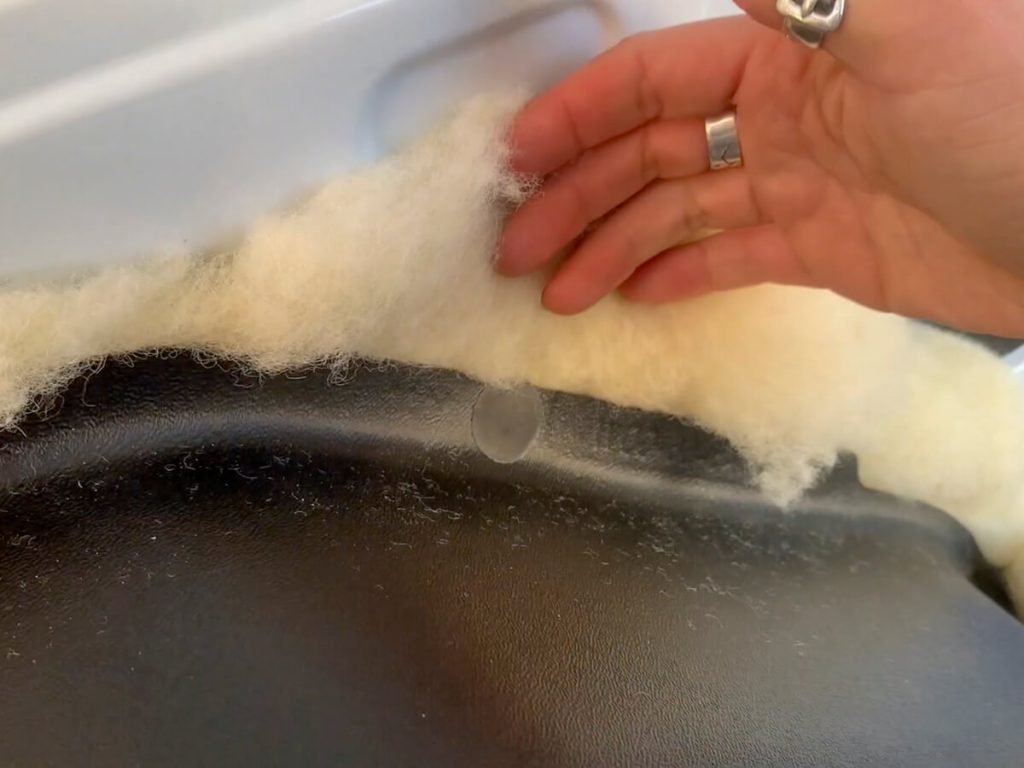
To insulate the wheel well, we used half a batt of wool. We simply laid it across the wheel well and then added the modified cover back on top. I found it helpful to make a hole in the wool for the OEM connectors to snap in place.
Voilà! Repeat on the other side.

The Final Van Subfloor Step


This “simple” van build project had more steps than we expected.
However, we eventually got to the last step, and you will, too!
If you haven’t already, add a little tape on the walls to mark where your furring strips are. This way, you’ll know where to screw!
And finally, it’s time to screw the birch plywood sections into the furring strips. 🥳
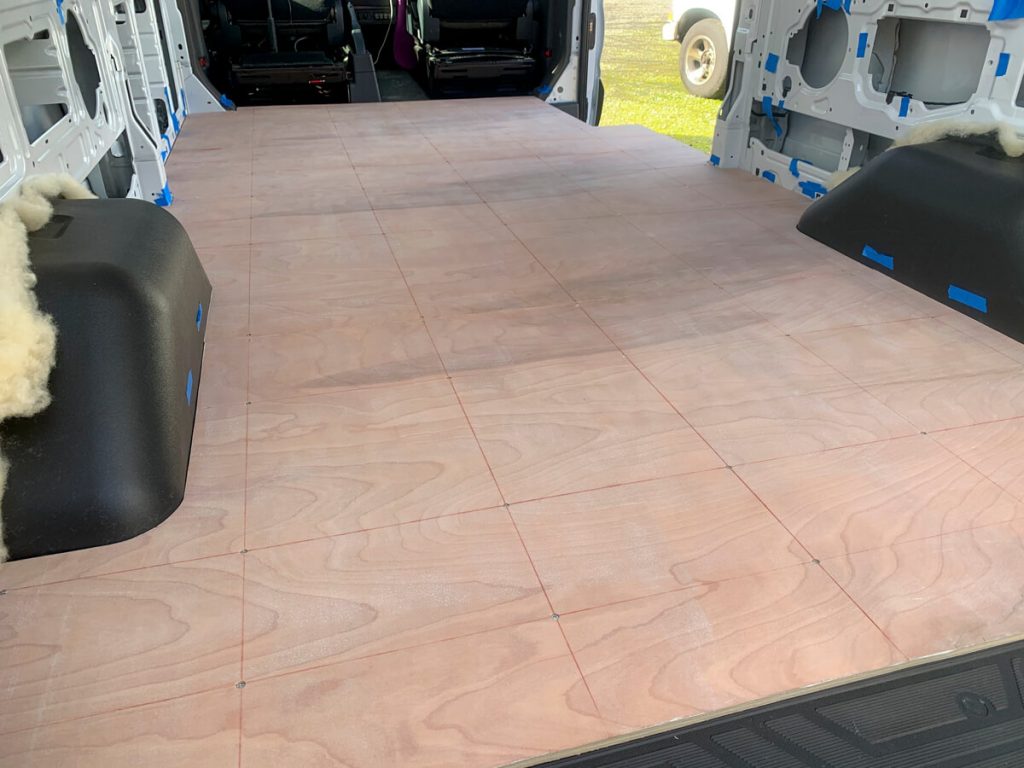
Since we plan to cover it with flooring, we used Karma’s chalk snap line and our tape centering marks to make a grid. We placed the screws equally distant from each other.
The chalk lines made it easy because all we had to do was place a screw wherever two lines crossed. Piece of cake!
📌 Pin It To Remember Later!


You’re amazing!!