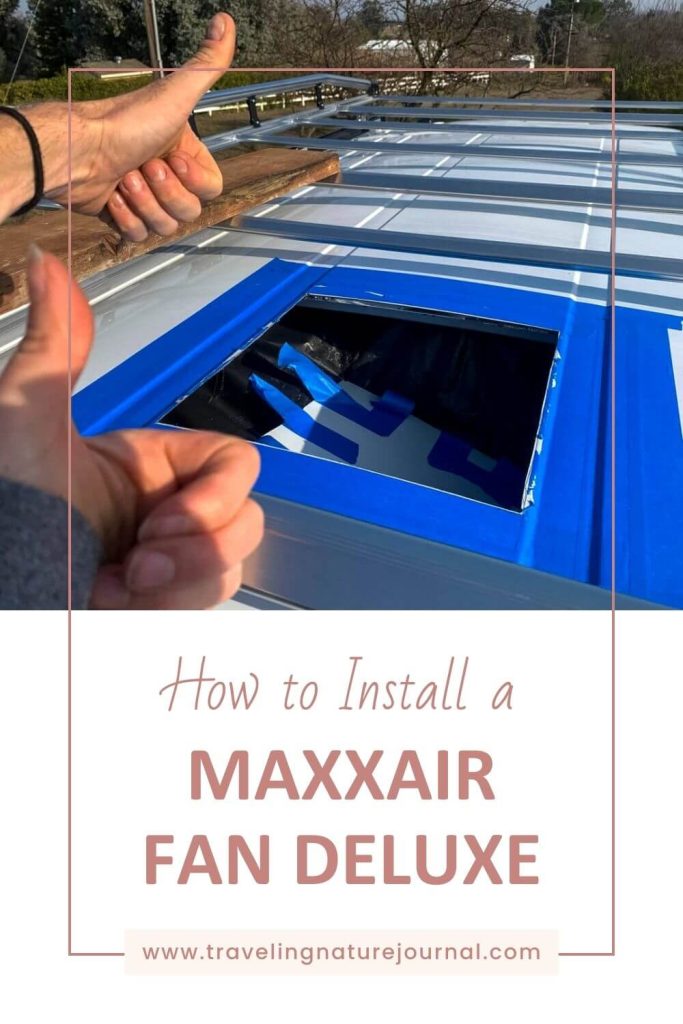
MaxxAir Fan Install: Everything YOU Need to Think About
If you’re working through or toward your DIY van build, you’re likely considering all the projects you need to start with. One of those beginning projects should definitely be installing a MaxxAir Fan to help with ventilation!
One of the biggest killers of van life morale is when you can’t control condensation and you start to grow mold. If you weren’t thinking about installing a MaxxAir Fan to prevent mold…now you are!
Start your van build out correctly. Before you get to pick out paint or curtains, cut all the holes that you need to first! Adding a fan is soooo much easier at the beginning of your van build than after the fact.
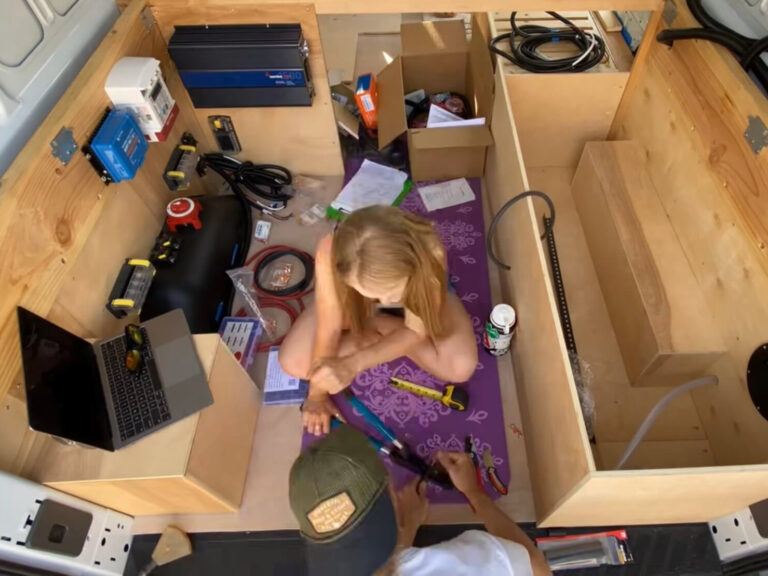
My partner and I spent 8 months building our dream van in a 2020 Ford Transit. It’s AWD, high roof, and a 148-wheelbase (not extended). After we used a beat-up old Ford Econoline with no fan for 4 years, the number one item we wanted to install was a MaxxAir Fan Deluxe to increase airflow.
Come with me as I walk you through all our research to pick the correct fan model for us, determine the right location, and teach ourselves the electrical skills to install it.
List of Contents
Before You Install a MaxxAir Fan: The Basics & FAQ

Here is our preliminary research before we chose the MaxxAir Fan Deluxe 7500K with a remote. This is the post that I wished I had when we were building our van back in 2021.
If you haven’t bought your fan yet and are in the research stage…this section is for you!
On the flip side, if you have already purchased your fan, feel free to skip down to the installation section.
MaxxAir Fan vs. Fantastic Fan
The two most prominent van fan options on the market are the MaxxAir Fan line and the Fantastic Fan.
You’ll find two major differences: your budget and whether you can use it in the rain.
The MaxxAir Fan price depends on the features you want.
In my opinion, the most significant benefit to any of the MaxxAir Fan Deluxe versions is that you can use it while it’s raining. **You cannot use the MaxxFan or the MaxxFan Plus in the rain without a rain cover.
✨ Pro Tip ✨ By the time you order a MaxxFan or MaxxFan Plus AND the Rain Cover…you might as well get the MaxxAir Fan Deluxe. You’re *almost* to the price of the Deluxe anyway.
The fantastic fans were previously less expensive, although that doesn’t seem to be the case by 2024. In my opinion, the worst part about the Fantastic Fan is that you can’t use it while it’s raining (without an added aftermarket rain cover). Lastly, when you need a fan the most is when you’re hanging out and breathing inside a metal box when it’s raining. Therefore, the MaxxAir Fan is the better option, IMO.
What is the difference between smoke and white MaxxAir Fan Deluxe? (Fan Model Differences)
The MaxxAir Fan line has two color options: “smoke” and “white.”
This literally only refers to the color of the uppermost cover. The rest of the fan is identical.
We have the smoke MaxxAir Fan Deluxe 7500K (mainly because it had the shortest back order in 2020). Also, because I’m short and I need a remote.
The “smoke” color is a translucent black. This means that it looks black from the outside, but we can see through it (to some extent) on the inside. If you’re aiming for stealth city camping…it lets out more light from inside than the “white.”
In contrast, the “white” color is a solid white plastic. You can’t see through it from inside (except for the small area that lets in the air), and it lets less light out for stealth camping.
Next, the main difference in MaxxAir Fan Deluxe model numbers is 5 features:
- Number of Speeds
- Exhaust (air going out)
- Intake (air coming in)
- Thermostat
- Remote.
First, the cheaper options 00-5301K (White) and 00-06401 (Smoke) only have 4 fan speeds and can only pull air out.
Second, the 00-5100K (White) and 00-6200 (Smoke) have 10 speeds, exhaust, intake, and a thermostat, but no remote.
Third, the 00-7000K (White) and 00-7500K (Smoke) have everything: 10 speeds, exhaust, intake, a thermostat, and a remote.
Where should you place the fan on a van’s roof? (Location)

Where you place your MaxxAir Fan Deluxe on your van’s roof depends on several factors. If you’re new to van building, you’ll soon realize that every decision made in a small space affects at least 50 other decisions.
When considering the location of your fan, here are the main factors to consider:
- 👩🍳 Where will you be cooking or showering?
- 🪟 What secondary air source do you have, and where is it? (A second fan or opening window)
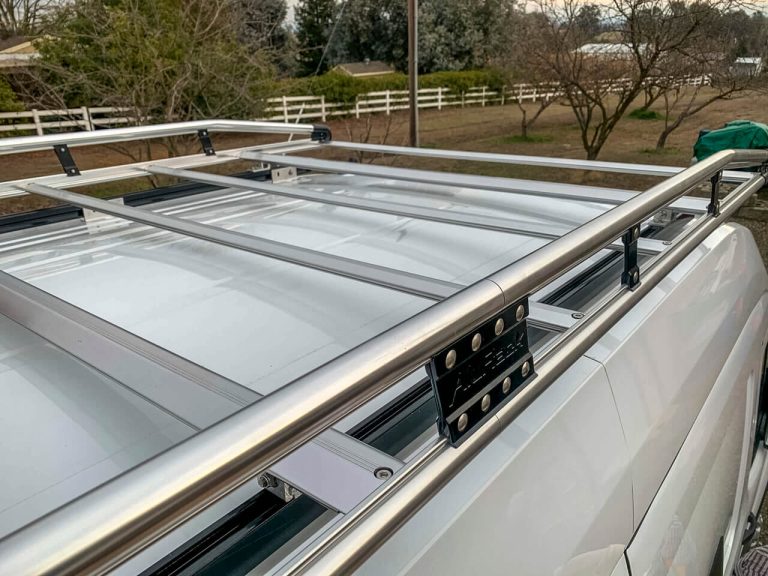
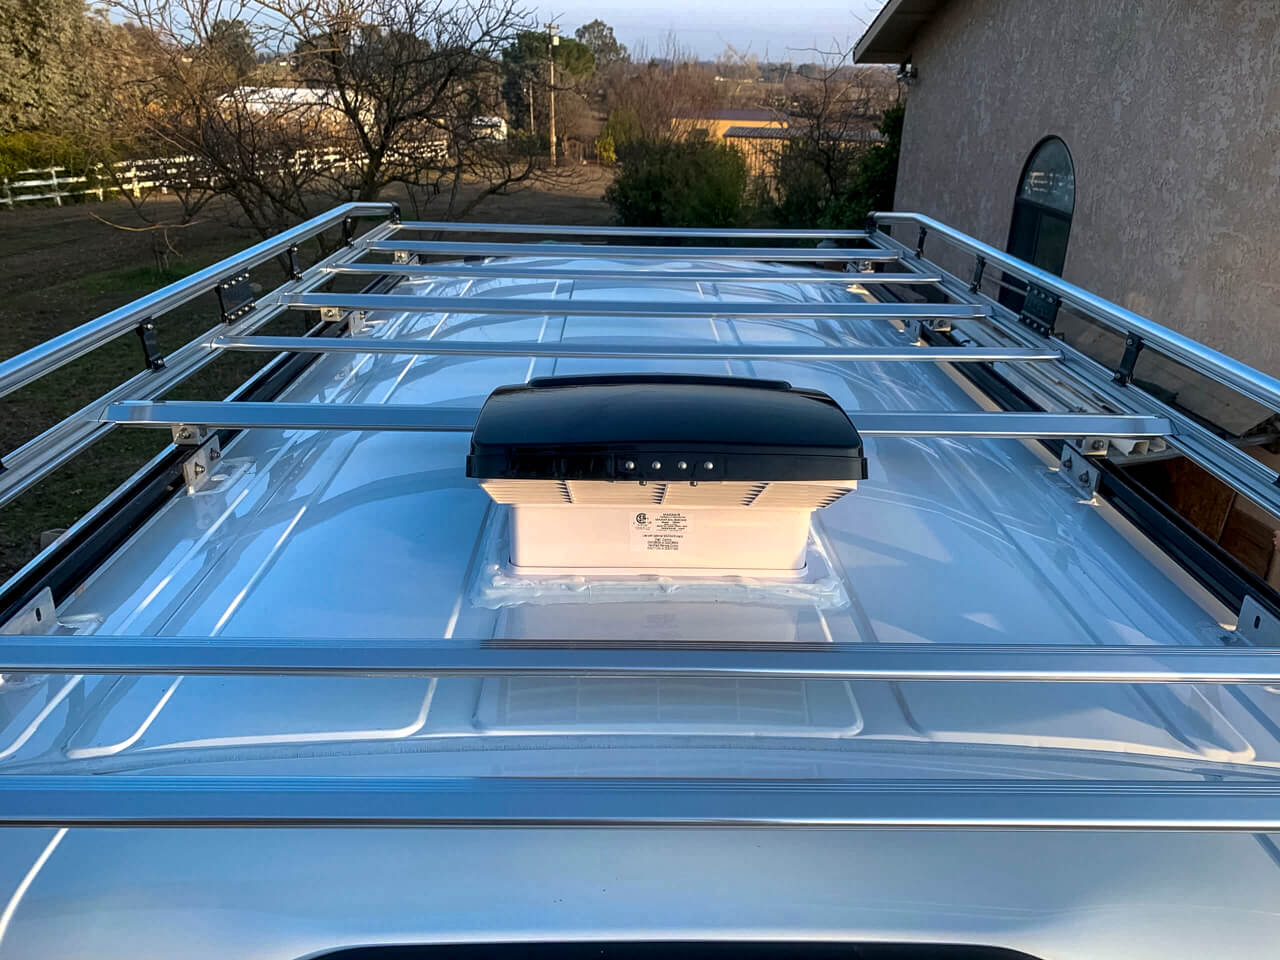
- ☀️ How are your solar panels, roof rack, and rooftop deck going to fit around the fan? (And any other items you want on the roof, like a cargo box, Starlink, etc)
Before you even bust out the saw, you need to double down and figure out your roof real estate. This actually took us weeks to figure out how to make the most out of our roof space available.
What wire size do you need for a MaxxAir Fan Deluxe? (Electrical)
When you’re building out a van yourself, the number one thing to get familiar with is an electrical calculator. Yes, you could do the math yourself. But now there are plug-and-play calculators that figure out wire sizes for you.
You’ll need to know 3 things:
- Amps (that the wire will supply)
- Voltage (12v/24v/48v/110v)
- Length of Wire (from your fuse box at the battery bank to the item)
You can find the Amps and Voltage on each electrical item.
For example, the MaxxAir Fan Deluxe 7500K draws 5 amps and runs on 12 volts. The length of the wire will vary depending on where your electrical and fan end up in your van’s layout.
Some electrical calculators will also give fuse recommendations based on the wiring information you provided. However, always check the product itself for fuse recommendations first.
Do van roof vents work? (Ventilation)
The short answer is yes. Van roof vents work to increase ventilation, especially when paired with a second fan or a screened window.
➡️ You 100% need to consider how you will ventilate your van before you get too far into the build process. This is due to the fact that to ventilate, you always need to cut holes.
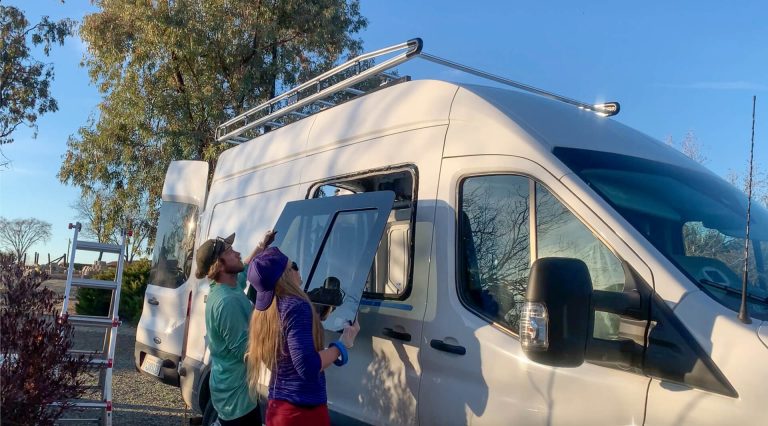
The MaxxAir Fan Deluxe properly ventilates our van when paired with our sliding door window in the center of our van.
For example, if we have the MaxxAir Fan on “exhaust,” where it pulls air out of the van, it pulls air through the open window, across the center space, and most of our bed out the roof. Thus, it creates airflow.
However, this only works to a certain point, even with good insulation. When temperatures outside stretch into the 90-100 degree realm, it’s uncomfortable without air conditioning. Other factors that can help or hurt include if your van is parked in the shade/sun, how many people are inside, and if you can fully open doors.
MaxxAir Fan Installation
Now for the nitty, gritty installation process. This is the blog post I wished I had when we built the van.
The following instructions represent our research before installing our Maxxair Fan Deluxe and our in-person experience after the fact.
What do you need to install a MaxxAir Fan?
You need more tools than you’d think to install a MaxxAir Fan on the roof of your van.
Bear in mind that some of the “items to order” will depend on where you place your fan in your van’s layout. See the asterisk notes for more information.
Items to Order:
- Your choice of MaxxAir Fan Deluxe models
- 3D-Printed Template for the roof of the van*
- 3D-Printed Template for inside if installed between pillars more than 18 inches apart**
- Vermont Natural Coatings Waterproofing***
- Caliwel Mold and Mildew Prevention
- 3M Window Weld
- Butyl Tape (don’t cheap out here!)
- Dicor Lap Sealant
* While the roof of a van looks flat, it isn’t. The MaxxAir Fans were originally developed for the flat roofs of RVs. To prevent leakage this 3D template made specifically for the make and model of your van will make the curved surface of your roof flat for the fan. I HIGHLY recommend this…it made our job so much easier!
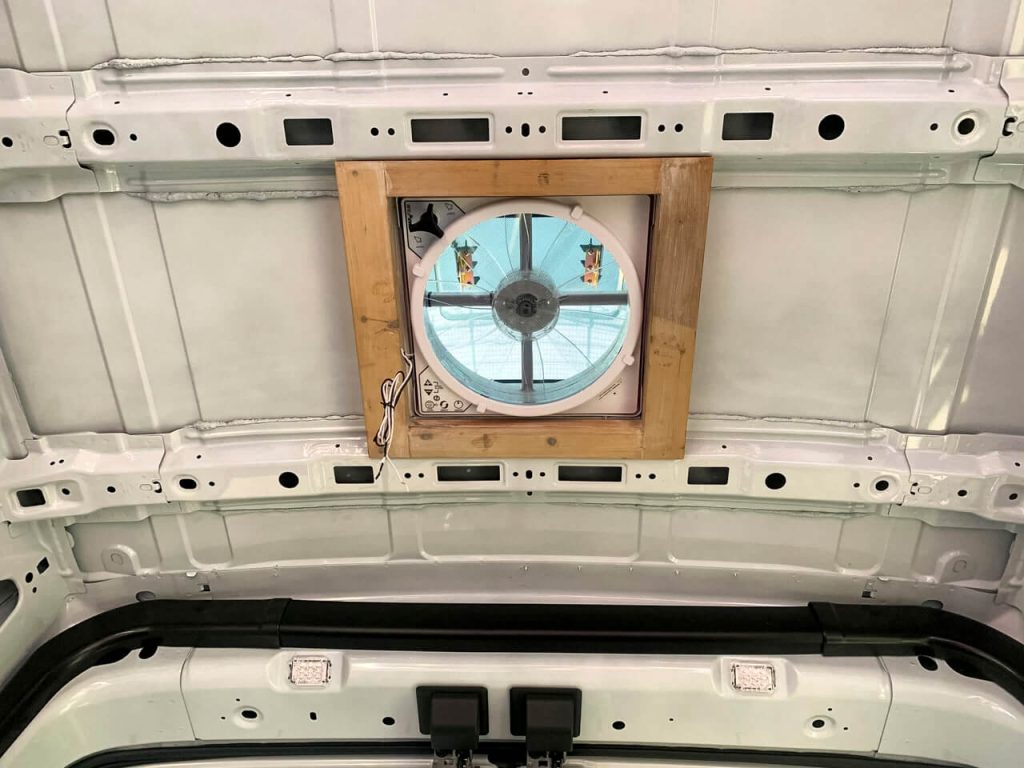
** If you’re installing your MaxxAir Fan between two pillars more than 18 inches apart, the sheet metal needs extra support. Your van roof is essentially only sheet metal with ribs to strengthen it. The fan adds extra weight. We didn’t need this because we installed it perfectly between the two back pillars.
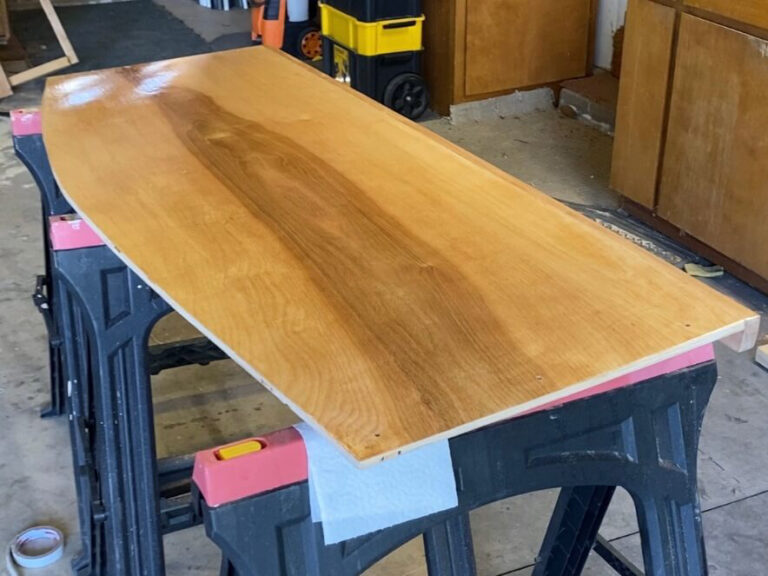
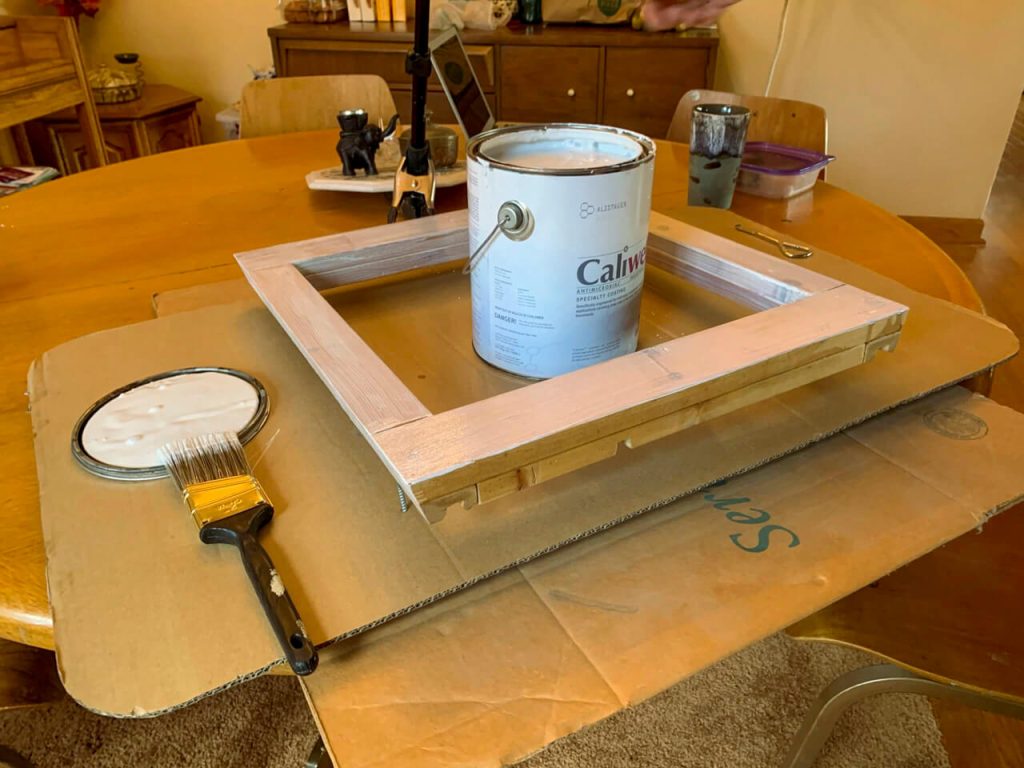
*** If you install between two tighter pillars, you’ll need to make your own frame for inside the van to support the fan. We made this out of wood. Thus, in case of a leak, we first treated it with Vermont Natural Coatings to waterproof it and then with Caliwel Mold and Mildew prevention to protect it from moisture should we get a leak.
Tools Needed:
These are tools you likely already have or can get at most hardware stores.
- Safety goggles
- Drill
- Drill Set
- Jigsaw with a few fresh sheet metal blade (30 TPI)
- Painter’s tape
- Metal file
- Paintbrush
- Drop Cloths
- Vacuum
- 4 – 6” Clamps
- Caulking Gun*
- Screwdriver
* 3M Window Weld is a fantastically helpful item. However, please do yourself a favor and get a “professional” caulking gun with a higher trust ratio (at least 26:1). We made this mistake with urethane when we installed our slider window…don’t make this same mistake!
Preparation Before MaxxAir Fan Installation
First, before you begin cutting a hole in the roof, make sure you have all of your ordered items.
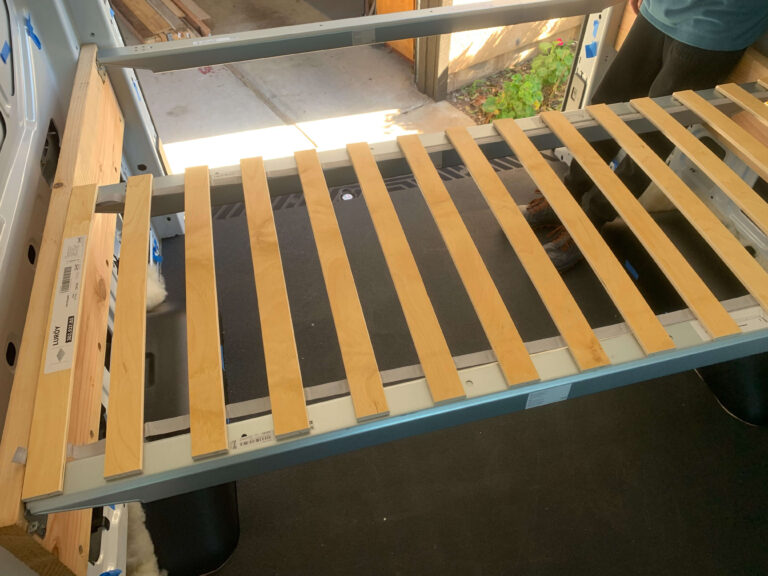
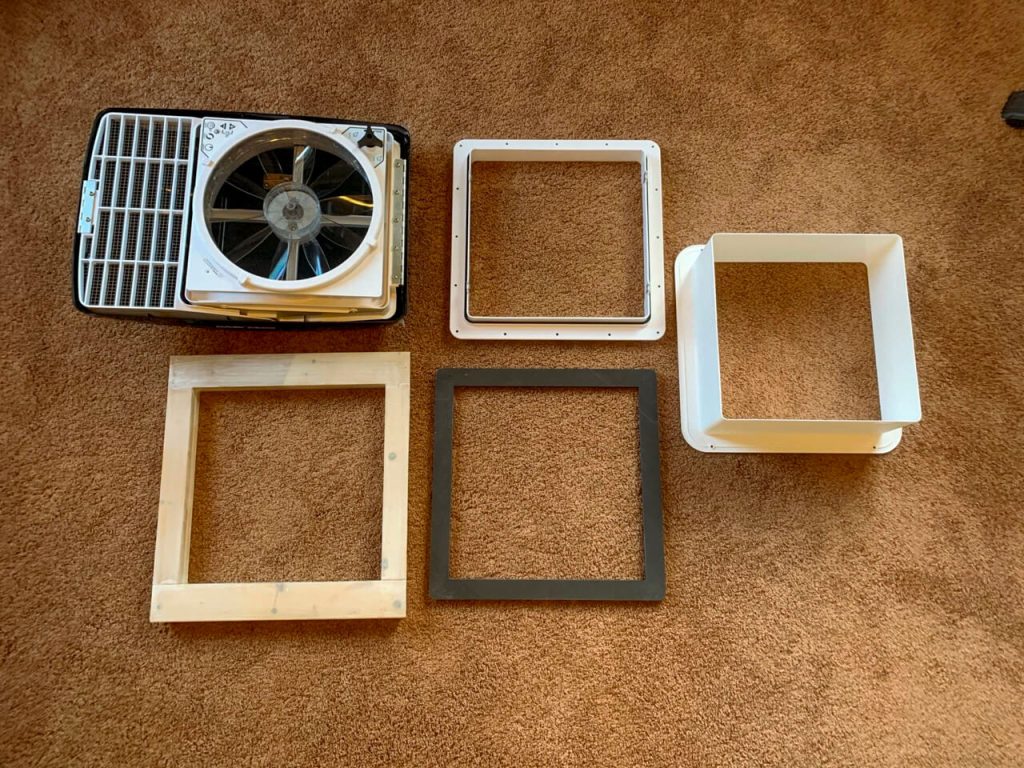
Second, if you’re not using the 3D-printed under-mount frame, build your own.
We built one using extra scrap wood slats. Leave a small opening for your MaxxAir Fan wire to slip through toward your battery bank. Treat this bad boy with Vermont Natural Coatings and Caliwel Mold and Mildew. If you do get a leak, give the frame a fighting chance.
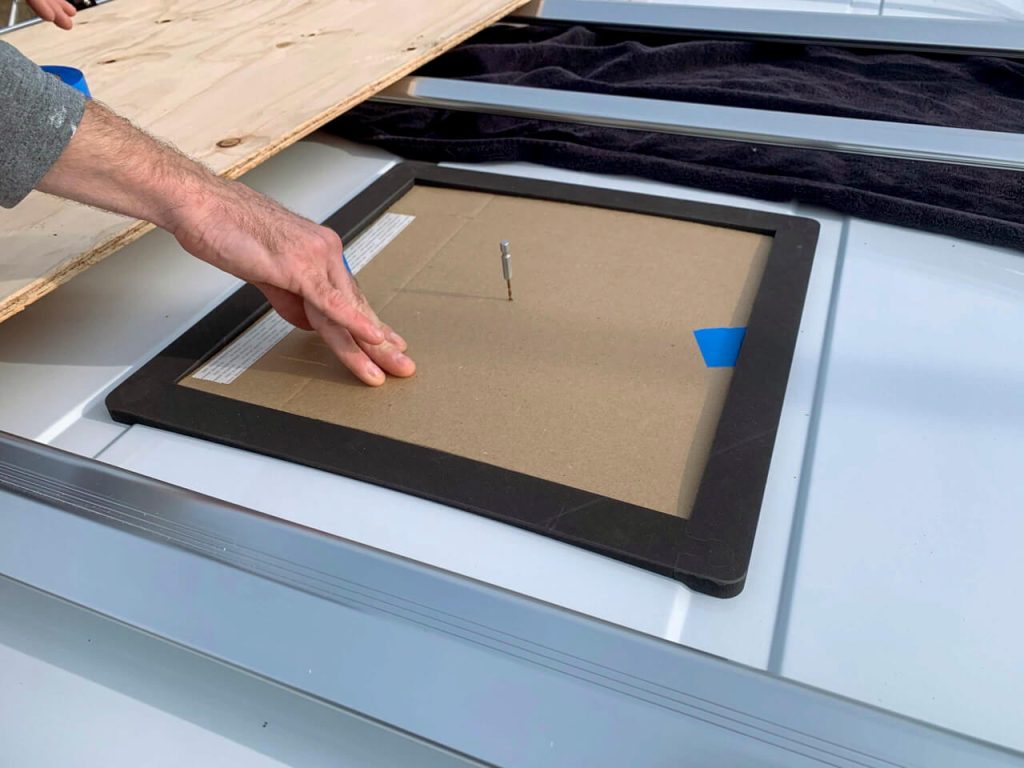
Third, make a cutting template. Ours measured 14 inches x 14 inches, and we used a piece of cardboard. Find the exact center of your template and mark it.
Lastly, lay out your drop cloths, cover your front seats, and prepare the vacuum.
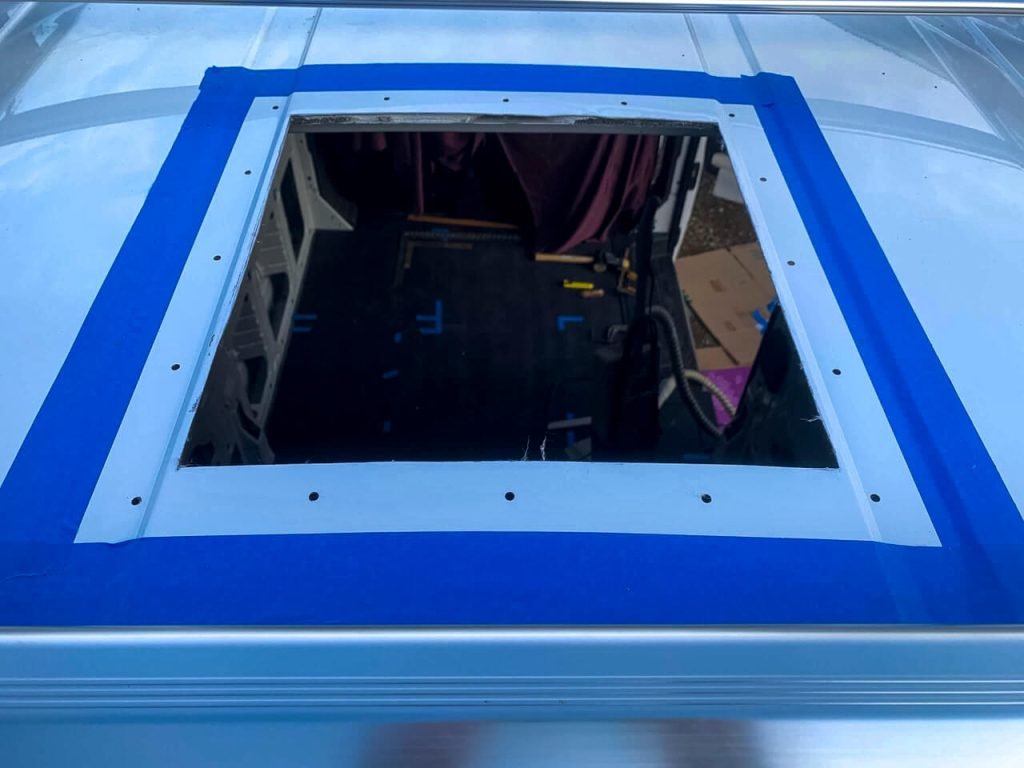
How to Cut a Hole in the Roof of Your Van for a MaxxAir Fan
These are the exact steps we used to cut a hole in the roof of our van to install our MaxxAir Fan Deluxe 7500K.
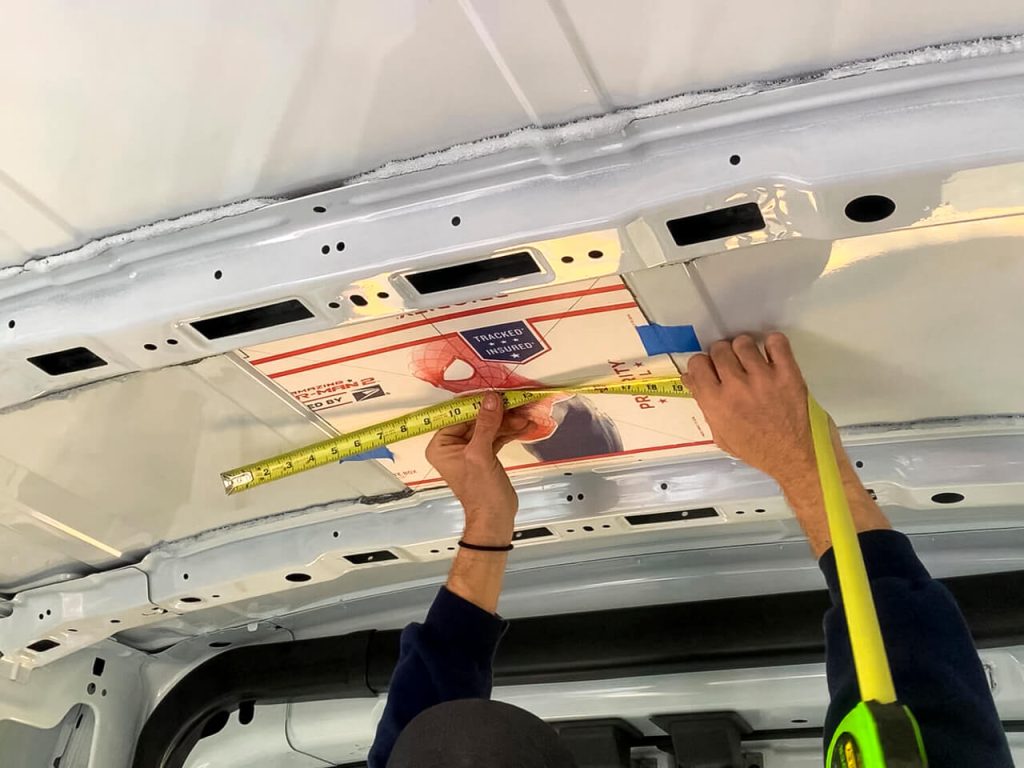
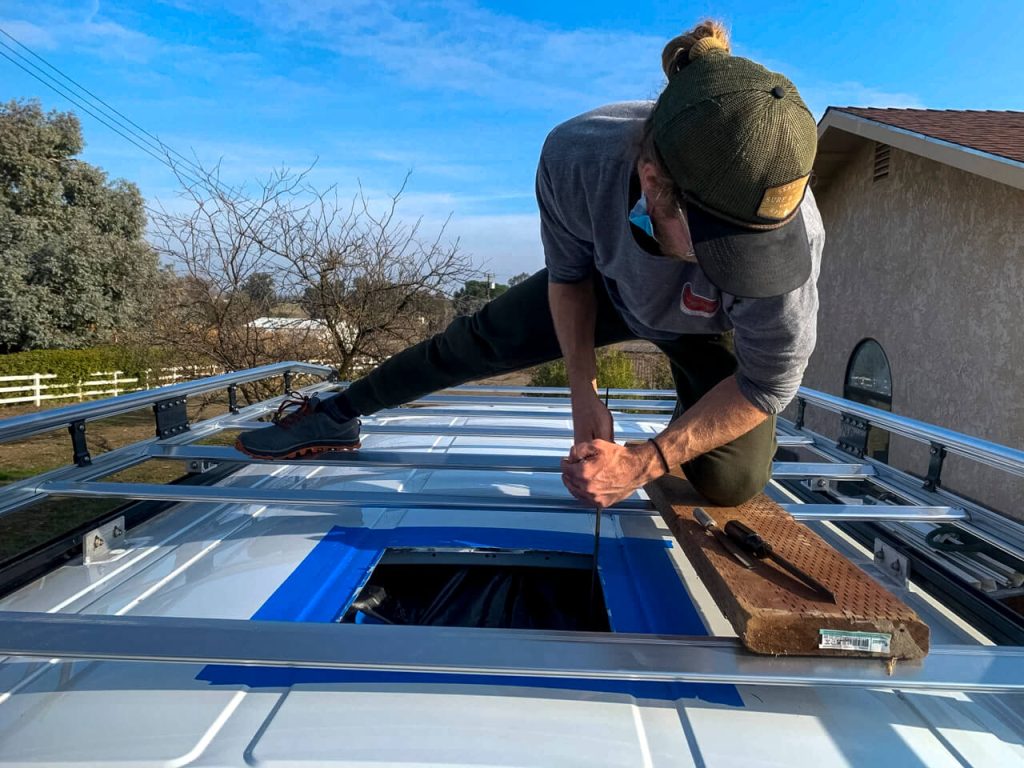
- Tape your template on the roof inside your van. Measure this many extra times to get it in the exact spot. Trace around the outside with a Sharpie
- Drill a small pilot hole upward through the marked center of your template through the van’s roof.
- Pull the template off and drill a small pilot hole inside each of the four corners.
- Go outside and get on top of the van with your cardboard template. Match the template to your five holes, tape it down, and trace along the outside with a Sharpie.
- Remove the template and drill increasingly larger pilot holes by stepping up your drill bits until they’re big enough for the jigsaw blade. Double-check the size with your mounting flange.
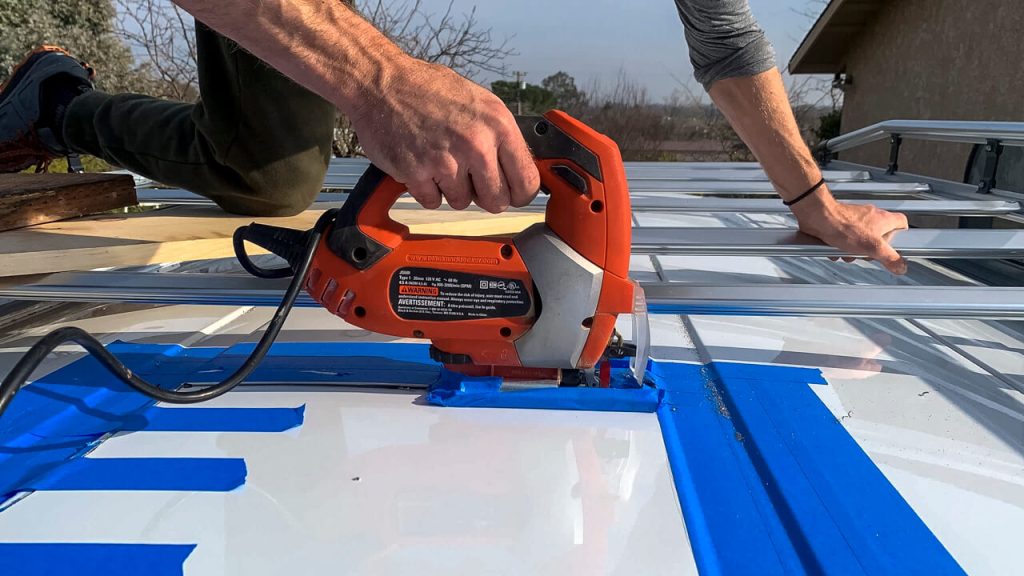
- Add painter’s tape around the entire outside perimeter of your Sharpie square. This will help reduce vibration and protect the outside of the roof from scratching on the jigsaw foot.
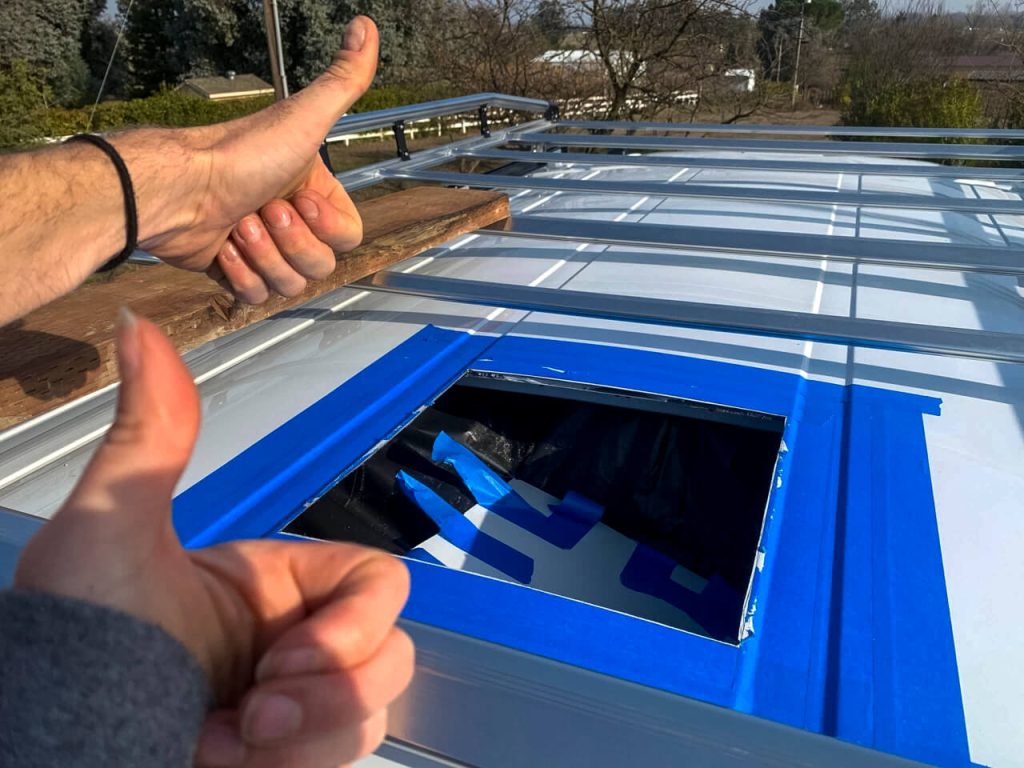
- Fit the jigsaw blade into your pilot holes and cut from one to another. Before starting on the next side, use painter’s tape to hold the cut you just made together (reduces vibration). Cut all four sides and pop it through!
Congrats, you just made a big hole in the roof of your van! 🥳
Screwing Everything Together
This sounds easy, but it had more steps than we realized. The scariest part is over, but now here is the tedious part.
Prepping Your Hole for the MaxxAir Fan
Start by cleaning up the hole with a metal file. You might have to peel back a bit of the painter’s tape. File those edges nice and smooth.
⚠️ Then, bust out the vacuum and be diligent about thoroughly cleaning up all the metal shards. Remember: metal shards left on metal will cause rust, and no one wants rust.
Once the van’s roof and interior have been vacuumed, add a layer of Rustoleum to the cut metal edges to protect them from rusting.
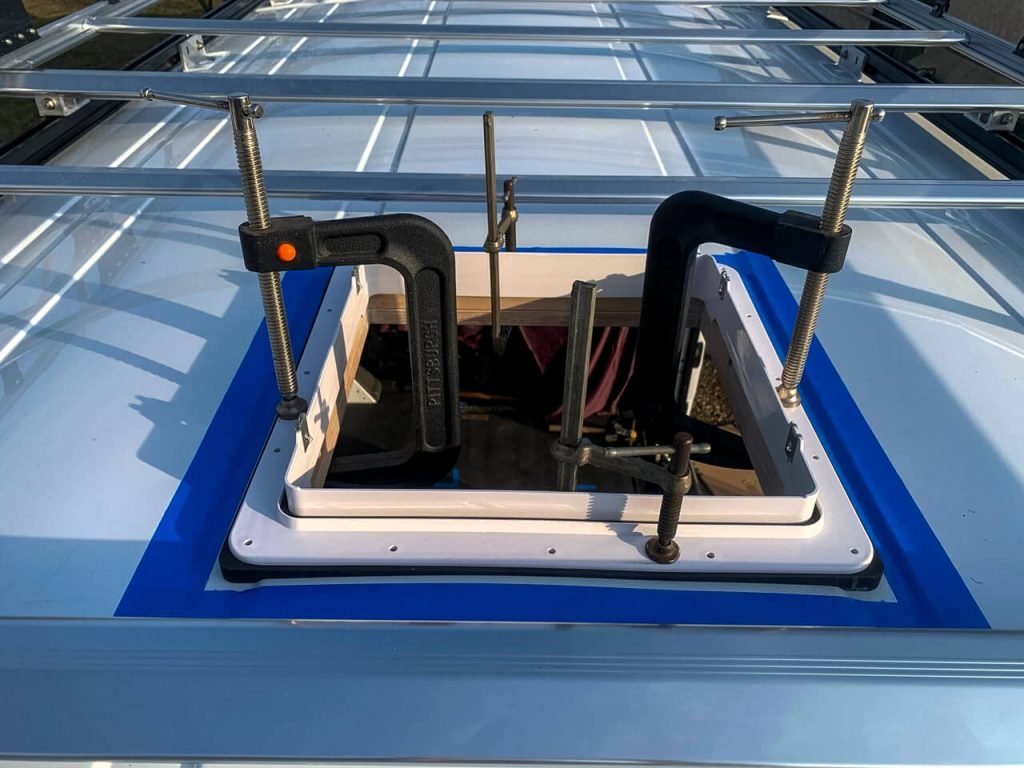
After the Rustoleum dries, we found that dry fitting the main layers together helps. We worked together to dry fit the interior wood frame, the exterior 3D-printed template, and the mounting frame together with C-clamps.
Once you have your dry-fit, pre-drill holes indicated by the MaxxAir Fan frame through all three pieces and the roof. This made life easier later!
Lastly, take that back apart and hit all those pre-drilled holes with Rustoleum.
How to Add the Layers Together

You’ll start the process of actually adding the MaxxAir Fan Deluxe onto your van.
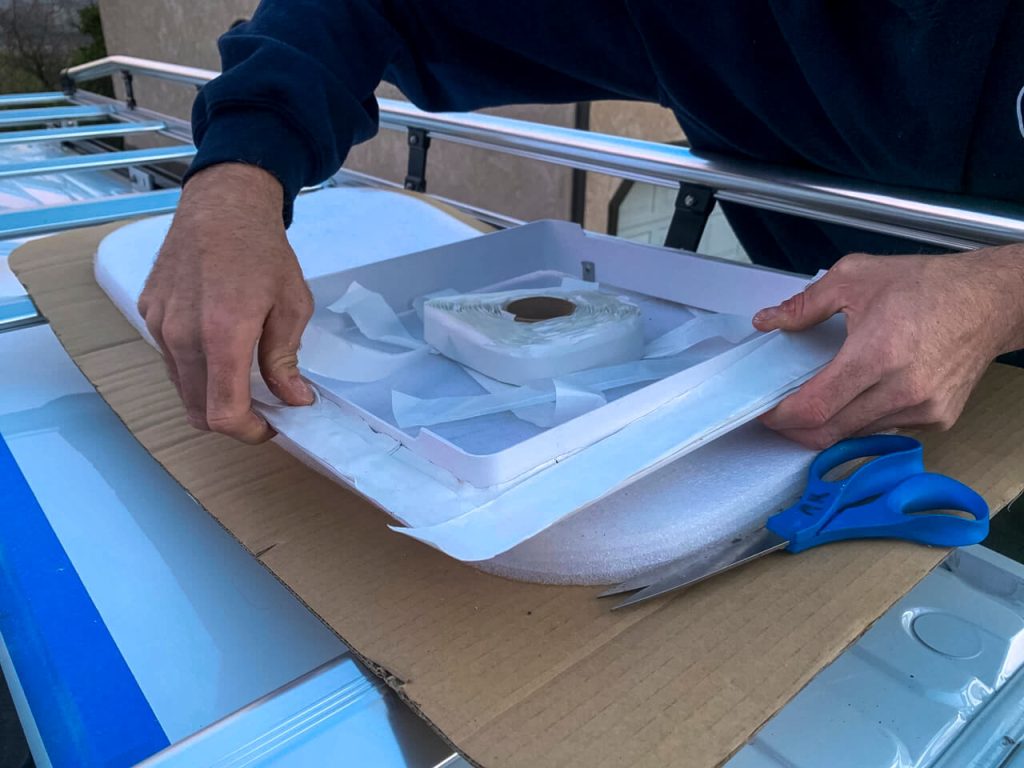
While the Rustoleum dried, we attached the mounting flange to the exterior 3D-printed template with Butyl Tape.
✨ Pro Tip ✨ Don’t cheap out on Butyl Tape…the lowest price stuff does not work well.
For the next steps, we actually found that the 3D-printed template came with good instructions.
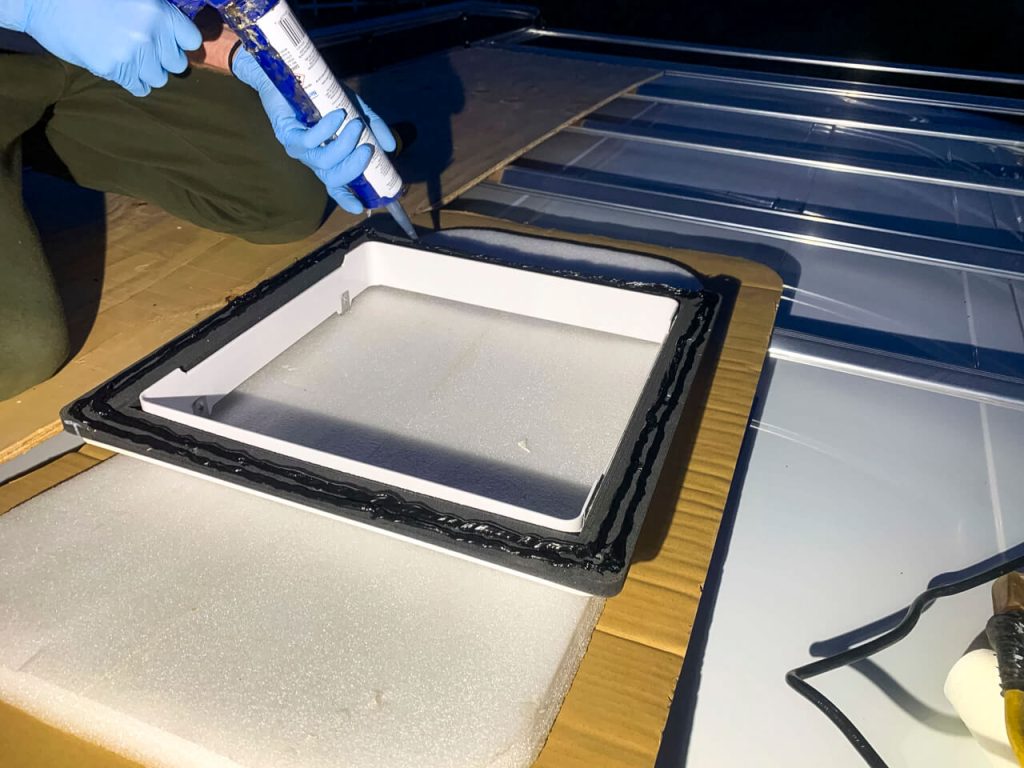
You’ll use 3M Window Weld to attach the template and the mounting frame to the outside of the van on the roof.
✨ Pro Tip ✨ Don’t cheap out on the caulking gun! Use a “professional” grade caulking gun, not the basic $5 ones you can find anywhere. 3M Window Weld is tough, and having a higher ratio of caulking guns makes a HUGE difference. We made this mistake here and with our slider window.
Once you add the mounting flange and exterior 3D-printed template, have a second person hold up the interior frame while you screw the pieces together.
Wait about an hour, and then tighten the screws again after the Butyl tape squishes and settles.
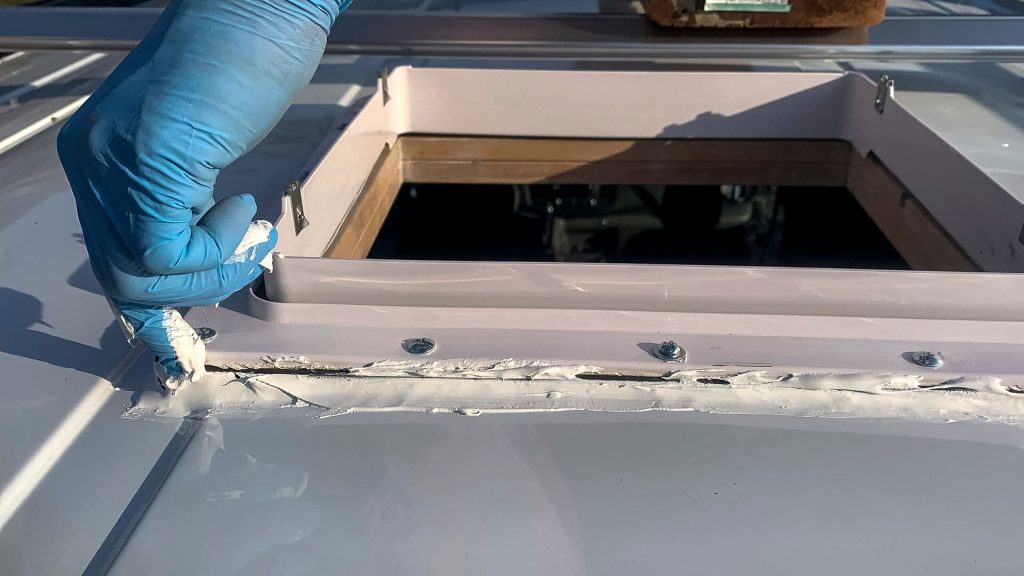
After tightening the screws, add 1-3 layers of Dicor Lap Sealant to create a waterproof seal around the template and mounting flange. You can use a normal caulking gun for the sealant.
Grab the MaxxAir Fan Deluxe, fit into place, and screw it in! 🎉
Wiring to Your Electrical System
After you install your MaxxAir Fan Deluxe, you’ll need to wire it to your electrical system.
This portion is highly variable as every build is different.
We waited for another month before we did the math, ran the wires, crimped the fan in, and started the electrical system.
Remember from above that the length you need to run your wire will determine the wire gauge you need.
✨ Pro Tip ✨ I recommend wiring the fan with quick disconnects so you can clean the motor more efficiently.
3-Year Review: Maintenance & What Parts We’ve Replaced
Three years later, and *knocks on wood 🪵*, we have not had any leaks with this system!
However, this is the one electrical item in the van with which we’ve had other issues. Let me explain…
Your MaxxAir Fan requires regular maintenance. Mostly, you need to clean out not only the bug screen and fan blades but inside the motor as well.
We’ve also had to replace TWO parts over the last 3 years.
MaxxAir Fan Deluxe Regular Maintenance
Popping off the bug screen and doing basic cleaning is easy. We do it about once a month.
On the other hand, cleaning the motor is a PROCESS and works best with two people because you’ll want four hands. No lie.
The key takeaways from cleaning the motor are:
- There are two springs inside. DO NOT LOOSE THEM. If you lose a spring, it won’t work, and you’ll have to replace the entire motor.
- There are two (delicate) magnets inside. If one slips as you’re putting it back together and you screw it tight, it will break, and you’ll have to replace the entire motor.
Watch YouTube on how to clean it before taking the motor apart. And YES, you do need that little tool for the snap ring. Just get it.
Parts We’ve Replaced on the MaxxAir Fan Deluxe
Over the last 3 years, we’ve had to replace BOTH the motor and the circuit board.
➡️ The motor replacement was our fault. One time, when we were cleaning it, one of the magnets slipped, and we didn’t notice until we heard it crunch.
None of the RV online stores that carry these ship very fast, so this mistake sucks. We replaced the motor, and it’s been great there ever since.
➡️ The circuit board replacement was NOT our fault. However, the customer service agent was SUPER helpful even though our fan was out of warranty when it happened.
We learned from him that the MaxxAir Fans were not initially built for solar-based electrical setups, and their small power fluctuations. Basically, the MaxxAir Fan could only run at a very narrow voltage range of around 12v. If it had a small power surge, it would overwhelm the circuit board and it would shut down. Furthermore, he said they weren’t initially built for the more efficient lithium batteries. After so long, the circuit board dies.
The MaxxAir Fan customer service guy diagnosed our problem right away and said that the new circuit board had an update. He gave me the specific item number to make sure I got the updated version.
Replacing the circuit board was harder than replacing the motor, but it was doable. So far, *knock on wood 🪵*, it’s worked great since then.
Final Thoughts
We use our MaxxAir Fan Deluxe every day that we’re in the van. It helps regulate the temperature, sucks out our cooking fumes, controls our breath and shower moisture, and keeps us cool when we want a fan on at night.
As a short person, I am SO HAPPY that I got the MaxxAir Fan with the remote. I find it much nicer to grab the remote than to climb on the bed and reach up.
If you’re looking for a fan to buy, I would recommend the MaxxAir Fan Deluxe with the remote. I would buy it again if we were building again.