Wire Crimping in the Van: Astonishing Nerd Level
Before I get into the nitty gritty of van electrical systems, I’m going to talk about electrical wiring. Specifically, I’m going to explain why we chose to use marine grade wire. Moreover, I will explain why we chose to crimp and heat shrink wires. Wire crimping is a tedious, yet secure process to keep ourselves safe in the van. So, if you’re curious how we’re going to power our van, this is the post for you!
Side note: this post will have a high level of nerding. Get ready to nerd out with me!
Disclaimer: I am not an electrician and if you’re creating your own electrical system, you should definitely get it checked by an electrician. Huge thanks to Still Steve for checking ours!
Two Types of Power in the Van
Vans, like boats and RVs, mostly run appliances on 12v, or DC power. This is just like that cigarette lighter everyone has in their cars that hasn’t actually lit a cigarette in a few decades. All kinds of adapters exist for this common 12v outlet like USB and USB-C.
Now, what you might not realize is that a lot of kitchen appliances can also be made to run on 12v. RVs and Boats have really powered this innovation (pun intended).
The second type of power is 120v, or AC power. These outlets are what you see in houses. They can run blenders, camera batteries, power tool battery chargers, etc.
Power can enter a van through two main avenues: solar and from a battery-to-battery (B2B) charger to house batteries. Some people at a third: shore power. This is how you plug into campgrounds. However, we don’t often pay for campsites. Anyway, both solar and B2B sources produce 12v (DC) power to the house battery bank. In order to get 120v (AC) power, the electrical system must have an inverter.
However, the inverter uses a large amount of power to convert a 12v input into a 120v output. Thus, van electrical systems are more efficient using as many DC appliances as possible.
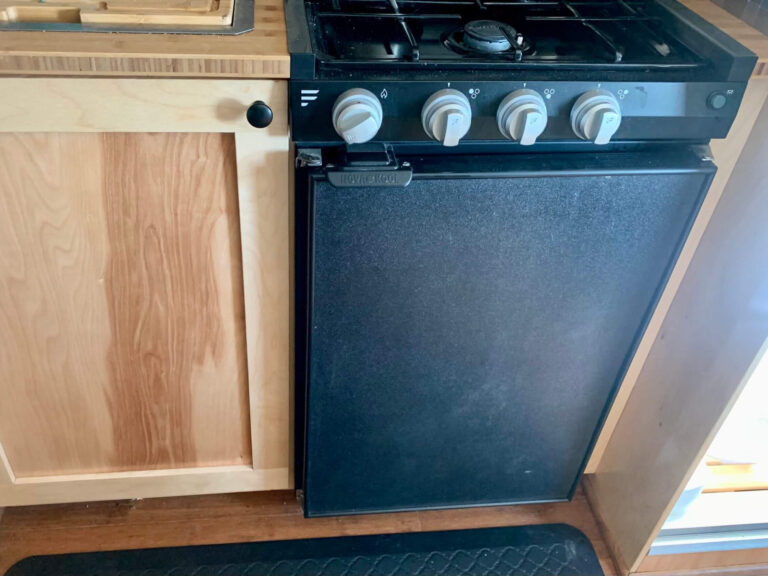
12v DC Appliances and Their Wiring
Each DC appliance that draws power is considered a “load.” These DC loads run through a 12V fuse block on the system. The fuse block has twelve locations to which loads can rest. You can think of this as similar to a house breaker box. It’s not quite the same, but it gets the idea across.
Now, it sounds pretty easy and slick to say that we ran all of our DC electrical wires. However, we did an incredible amount of research into which wire to get. This includes the gauge of the wire, the length, how to attach it to the loads, how to attach it to the fuse block, what fuse to use, and how to protect them.
I used a combination of two wire calculators here and here and doing my own math to figure all this out. Let me tell you, I thought I was hot shit getting through both undergrad and grad degrees without math. Bad decision. I thought Syracuse was pretty cool to require a language OR a math. Since I had Spanish as one of my majors, that eliminated the need for math. While learning Spanish was a great life decision (go 18 year old me!), ignoring math was not.

Marine Grade Wire
We chose to use marine grade wiring in our van for several reasons.
First, van builds do not have their own set of standards for electrical wiring, so the closest are ABYC (American Boat and Yacht Council) standards. These give helpful guidelines to follow to make a system safe.
Second, because vans move constantly over varied terrain, the electrical wiring must sustain a large amount of vibration. This is true especially on those amazingly fun dirt roads. Marine wire has proven to withstand such vibrations at sea and deal with moisture. As much as we’ve planned on decreasing moisture through proper ventilation, moisture can always occur in a van. Simply breathing in the metal box produces moisture.
Third, marine grade wire comes as duplex wire. This means that both the positive and negative wires live together in a protective sheathing. For one, the sheathing provides built in protection from the constant vibration of moving. Moreover, this sheathing keeps the wiring more organized. It helps us keep track of which wires go to which appliances. Furthermore, it prevents a rat’s nest of wires from growing behind the scenes like what we found in Glen.
How Layouts and Systems Thinking Matter for Wires
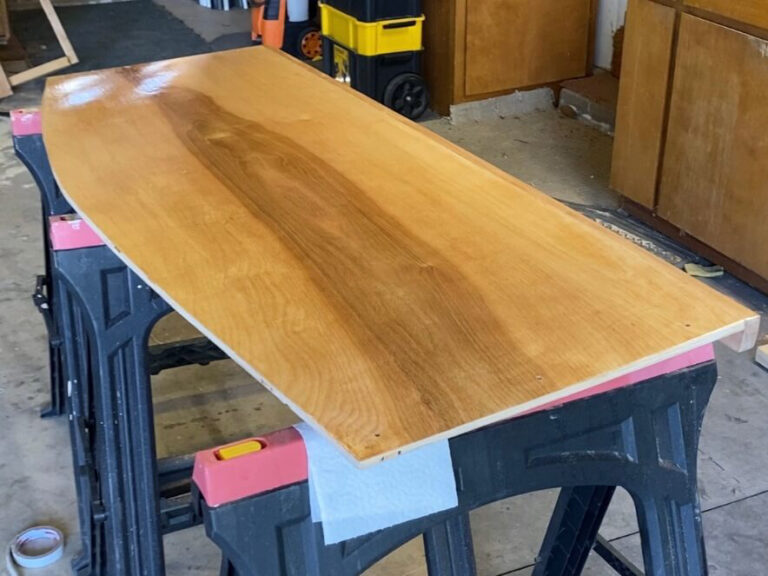
To size the electrical wires by length and gauge, we had to have a solid idea of where our appliances would live. Once we had an interior layout, we could measure out the distance the wires needed to travel from the appliance back to the electrical area.
But wait! To figure out where the electrical would be in the “garage” (under the bed), we had to also figure out where the water system would go. In order to figure out one, we had to figure out the other.
Being thru-hikers, we thought about weight. If one side of our pack has all the heavy stuff, our backs hurt. Then the knee and foot of the heavy side. We become off balance. The same is true in a van.
Since we want to stay out longer, we purchased a large freshwater tank. 40 gallons to be exact. That weighs about 334 pounds.
Next, we added up the weight of the heavy appliances that would rest on the driver side. If we put the freshwater tank on the driver’s side, we would be too heavy there. In fact, we had to add all of our appliances, the electrical system, and the propane system on the driver’s side to make it more or less even. Now, that fresh water tank won’t always be full, so we will have to move some heavier belongings back and forth as needed.
How to Size Electrical Wire by Length and Gauge
So now we have a layout and a location for the electrical system hub. Next, we measured from the appliance locations back to the electrical hub. We tried to choose the most efficient path and use existing holes in the van for the wires to travel.
This next task became quite tedious. We skimmed our appliance manuals for recommended fuse sizes. Some gave them easily, others I found via a quick google search of the digital manual. Sometimes, it’s just easier to use “control F” or “command F” if you’re on a mac. Work smarter, not harder.
Also, in the manuals, we found the number of amps each load (appliance) would draw while we turned on the power to it.
We used the two wire calculators to figure out the wire gauges based on the length, load, and sometimes fuse size. I also did the long math just to make sure.
A note to all van build DIYers:
If you do not follow someone else’s diagram EXACTLY, you will need to manually refigure the wire gauges. Just because one person uses x gauge wire for the fridge does not mean you need the same gauge EVEN IF you have the exact same fridge.
Wire Crimping
There are a few ways to attach electrical wires to a fuse block on one end and to a load on the other. We chose to crimp all of our wires. From what research we did, wire crimping seemed the safest and most secure in the earthquake of the van.
But what are we even crimping? On the wire end that connects to the 12v fuse block: we are crimping heat shrink terminal rings on the wire ends. On the appliance side, we crimp on either heat shrink quick disconnects or heat shrink butt connectors.
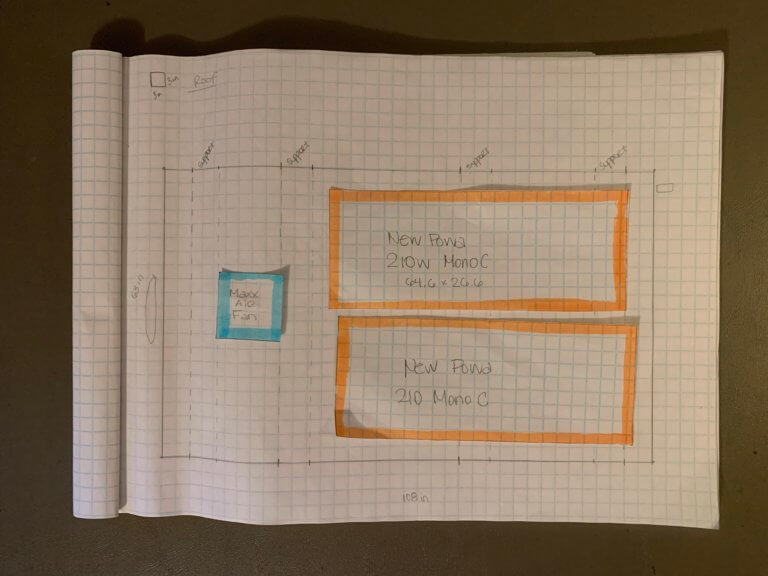
How? First, we measured and cut the wires based on the diagram I made using Far Out Ride’s plans as a template. We ran those wires through some split loam tubing and around the van.
On the 12v fuse block end, we took the end of our duplex wire and cut back the marine sheathing about 3-4 inches. Laying the wire flat, we used a razor blade to lightly run down the middle. Then we made a cut across the top of that line very lightly. That allowed us to peel the wire back.

This left us with a red and a black wire, or a positive and a negative. On each wire, we used a wire stripper to take off about ¼ inch of the red and black sheathing to expose the stranded wire underneath.
One wire at a time, we twisted the stranded wires together and put them into the appropriate terminal ring. It strongly resembles threading a needle, but it doesn’t come out the other side.

Next, we used a wire crimper to crush the metal inside the terminal ring on the stranded wire. After giving it a good crimp, we tugged on the end to make sure it didn’t come off. If it did, then we did not give it a good enough connection. We definitely had strained faces while we were wire crimping as it takes quite a bit of physical effort.
Let’s be honest…Karma did the wire crimping and I instructed handing him the appropriate terminal ring to crimp.
We did this for both the red and black wires for each load.
On the appliance end, we added either quick disconnects or butt connectors. Quick disconnects are useful for things like lights that might burn out. If a light burns out, we can now just disconnect it and replace it. Since most of our appliances are not yet in the van, we left many of them without until we get closer to the install.


Heat Shrinking After Wire Crimping
This is the second part to crimping. We purposely purchased marine products here. If you go to a store, you’ll mostly get household ones that you have to add your own heat shrink. We will have to do this for the terminal lugs (in a later post), but where heat shrink options came in one piece, we chose those.
Each terminal ring, quick disconnect, and butt connector we have, heat shrank or will heat shrink. This means that after we’ve crimped and tugged on the connection, we will use a heat gun to make it tighten on the wires.
Since Karma did most of the heavy muscle work of wire crimping, I had the tedious task of heat shrinking all the connections together. It wasn’t difficult other than it took time.


What’s Next After Wire Crimping?
Now that we have all the wires run for the 12v DC loads, we will be setting up the system under the bed area. This is one of the reasons we have not added the slats on the bed yet. Neither of us wanted kinks in our necks working on the system under the bed. At least not for the initial stressful set-up.
As we set that system up, we will have…you guessed it…MORE WIRE CRIMPING! Woohoo!
If you’d like to see some videos on how we did this, check out my instagram stories. If you missed it, it will be in the highlights!