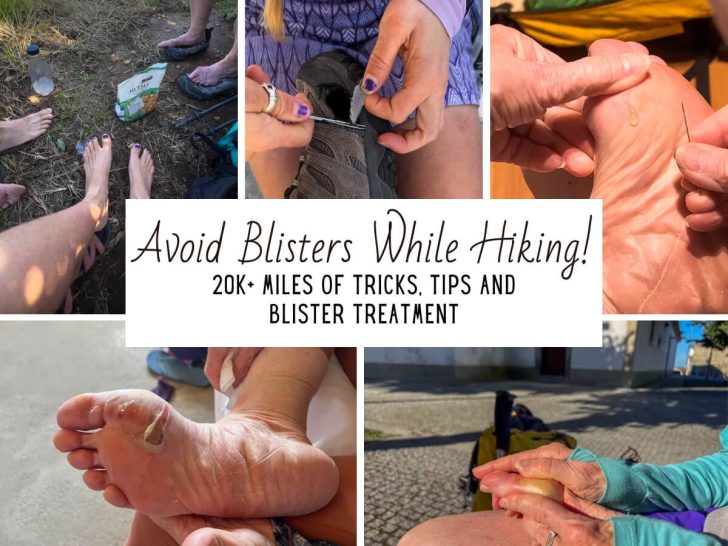
Getting blisters while hiking is the absolute worst! You’re trying to explore the great outdoors, live your best life, and experience that sweet exhaustion from an epic day. The key is avoiding blisters when hiking because nothing can kill the mood faster than blisters.
I’ve thru-hiked over 20,500 miles in 17 years, and the key to avoiding blisters while hiking is preventing heat and friction. It’s a delicate game that can change based on which trail terrain you’re hiking on and the average weather on that trail.
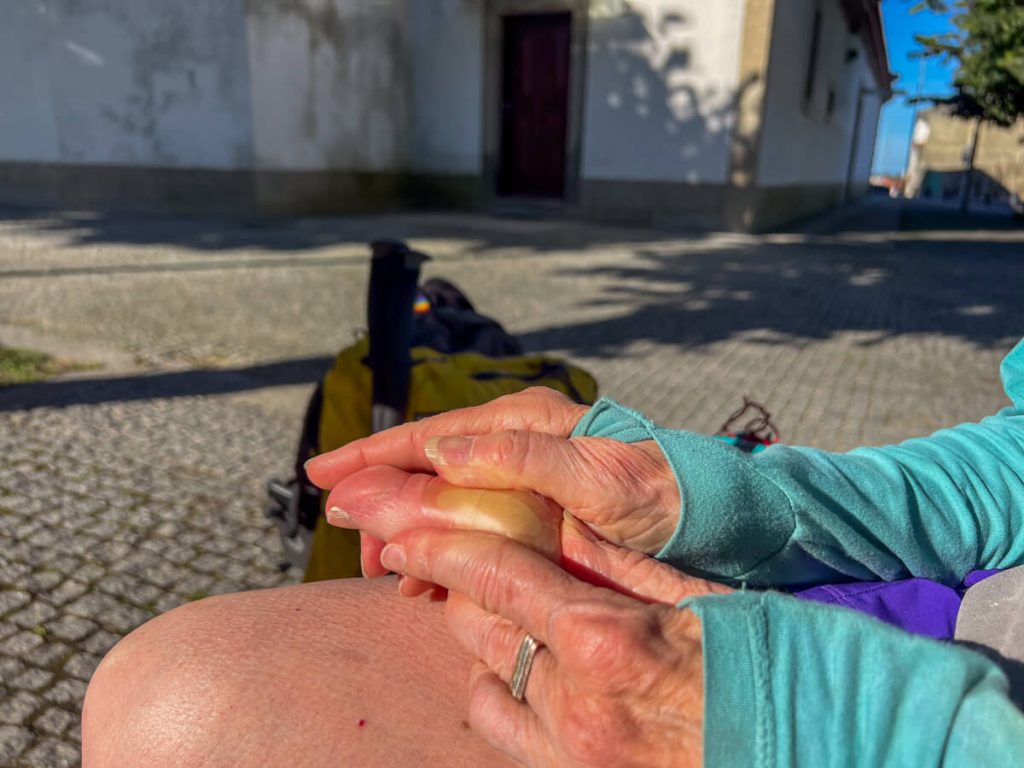
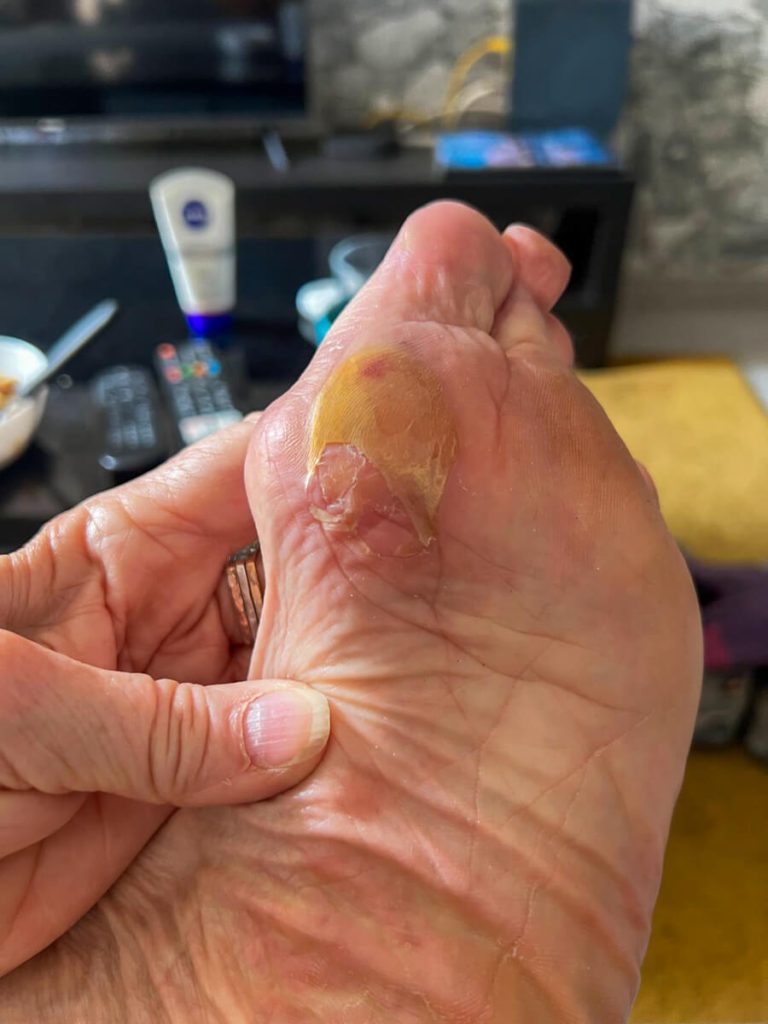
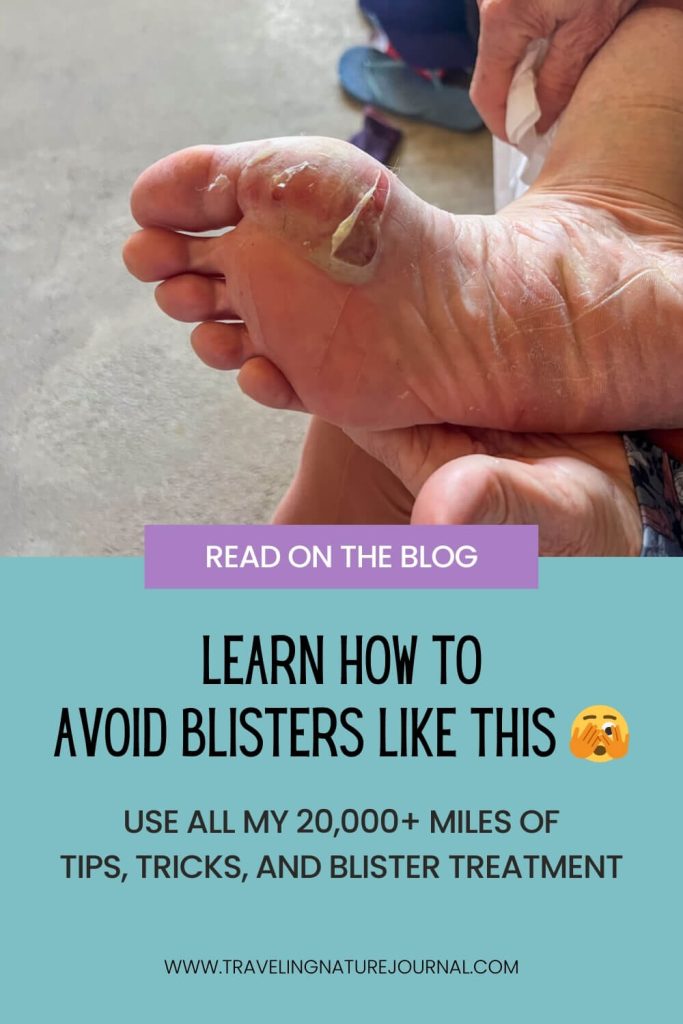
On my first hike in 2008, I had some of the worst blisters of my life. They covered both pads on my feet, and one went between my toes. They were painful and affected how I feel about that hike to this day. Those blisters were not unlike the ones my Mom got recently that defied almost every trick I had on the Portuguese Camino.
This post compiles all the knowledge and tricks I’ve learned over 17 years. With these blister prevention techniques, I rarely get blisters anymore.
However, sometimes, despite your best efforts, a pesky blister happens. If it does, try the blister treatment options listed below. It’s best to start blister treatment as soon as possible and not let it get wildly out of control.
A little forethought into avoiding blisters while hiking will ultimately give you a better experience!
This post contains affiliate links. If you purchase a product or book through these links, I can make a small commission at no cost to you. It helps me to keep writing helpful guides.
List of Contents
How to Prevent Hiking Blisters
The key to successfully knowing how to avoid blisters while hiking is knowing what causes them.
Two things cause hiking blisters: friction and heat.
Friction happens when your footwear and socks are rubbing on your skin.
Heat happens from both friction and the weather.
Mitigating friction and heat will help you avoid blisters while hiking on any trail from the Arizona Trail to the Continental Divide Trail to the Camino de Santiago.
Before I start a new thru-hike, I research the terrain and weather.
Terrain can influence the level of friction that’s likely to occur.
For example, on a particularly rocky trail, you might get more toe blisters because you are unintentionally gripping with your toes to stay stable.
On the flip side, you might get heel blisters or foot pad blisters on a particularly flat trail because all your steps are the same.
Weather can also influence the likelihood of blister problems. Trails with hotter weather, either muggy humidity or high desert temperatures, can overheat your feet.
Most blister prevention techniques center around identifying when your feet begin to experience friction or heat.
Once you identify what’s happening, you can prevent hiking blisters by:
- Choosing the right footwear
- Choosing the right socks
- Taking your shoes and socks off at breaks longer than 10 minutes
- Changing your socks mid-day
- Adding sock liners
🚨 Pro Tip: 🚨 It’s best to go on a test hike before your long-distance hike. There, you can try different footwear and socks. Dig into feeling your feet and try to recognize the feeling of when friction or heat begins. That’s the best way to avoid blisters while hiking: preparation.
Recognizing a Hot Spot Before it Becomes a Hiking Blister
The absolute best trick to prevent hiking blisters before they even start is recognizing when you’re getting a hot spot.
A hot spot is an area of your foot affected by friction and heat that is not yet a blister.
However, a hot spot is the stage immediately before a blister forms.
If you tune into how your feet feel and notice a hot spot, stop hiking and treat it.
Signs and sensations that indicate you have a hot spot include:
- Redness of the skin compared to the surrounding area.
- Pain.
- Tenderness.
- A feeling of rubbing.
To treat a hot spot, you need to remove the friction and heat.
Sometimes, this means taking your shoes and socks off so they can dry out. Sometimes, this means changing your socks.
Other times, this means using one of the aforementioned sock remedies and applying a blister band-aid over the spot. In this case, changing or drying the socks reduces the heat, and the blister band-aid reduces the friction.
Unfortunately, sometimes you need to get different shoes or socks to fully prevent hiking blisters. I’ll dive into how you can pick the right footwear and socks for you.
Finding the Right Footwear for You
There are so many different kinds of hiking footwear because everyone’s feet are vastly different. Just because a specific trail runner works for a YouTuber you follow doesn’t mean it’s the right one for you.
That being said, I will not cover boots on my blog because the thru-hiking world has largely moved away from them.
Ounces on your feet are pounds on your back.
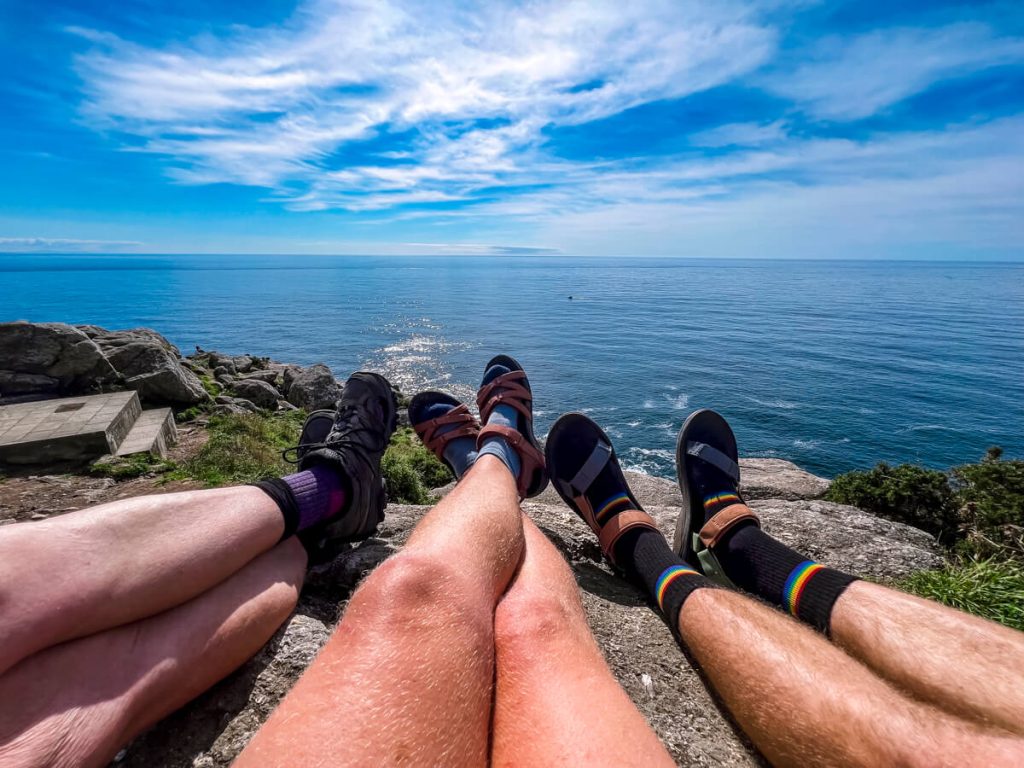
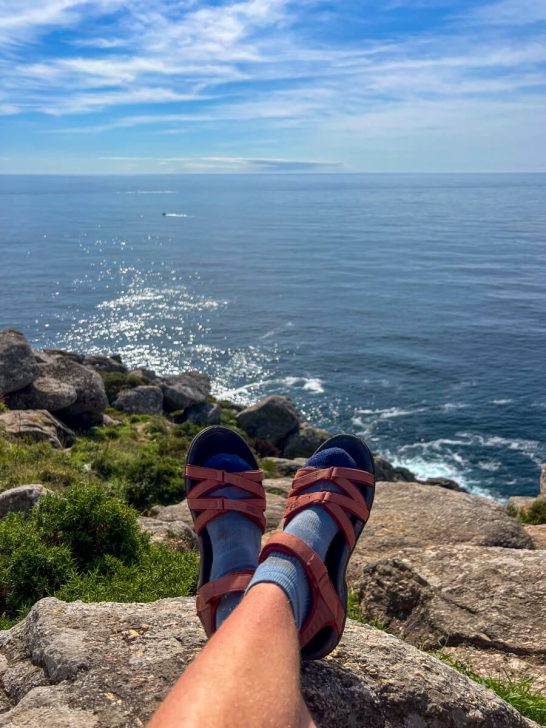
You want to find light but durable footwear. For most people, these are trail runners. Personally, I thru-hike in Teva Tirra Sandals. However, I do not recommend changing from boots straight to sandals without first using trail runners.
Buy Your Footwear a Half-Size Bigger
I highly recommend you choose your trail runners in a store first. You want to try them on in person with the socks you plan to use and walk in them. When I help people find trail runners, my general rule is to recommend a half-size bigger. Sitting down, reach to your toes and ensure you can put your thumb sideways between the toe of the shoe and your toes.
Why size up a half-size? Because your feet will likely swell on your thru-hike. When your body goes from moderate exercise to walking all day, every day with a backpack, your feet will react.
My feet often swell in the first two weeks of a thru-hike.
If your feet swell and have nowhere to expand into, it creates heat and friction, which create blisters. Therefore, if you size up your footwear, you can prevent hiking blisters by preventing heat and friction.
When you find a pair, buy only ONE pair. Take them out on an overnight test hike and see how they do with a backpack.
If your choice works, you can buy more online often for a cheaper price.
Pro Tip: If it’s your first thru-hike, I don’t recommend that you buy all of your shoes at once. I’ve seen this go wrong many times where it felt like the best shoe before the hike, but not during. You can usually buy them as you go. This way, you feel less pressure to continue wearing footwear that doesn’t fit the best.
Consider the Heel Drop
Many shoes have more sole material in the heel and less in the toe. This creates a downward angle for your foot. This is called a “drop.”
For a long time in the history of sneakers and trail runners, a significant drop was standard. Think about a centimeter or more here. This is where most boots still are today. That is, until barefoot running became more popular.
With the popularity of barefoot running, footwear manufacturers started minimizing the drop to imitate barefoot running. A complete imitation of barefoot running is a “zero drop.”
My point: research the drops of the footwear you use commonly and find something similar or a little less than you have now. If you are transitioning from boots to trail runners, you might want a high to medium drop to help your feet adjust. Going from a 13mm drop to a zero drop can affect your walking gait and your calves. Transition your drop down slowly if you choose to do so.
Popular Thru-Hiking Trail Runners
If you take the time to test trail runners out hiking with a backpack before your hike, you’ll be more likely to avoid blisters while hiking.
I personally only dabble in trail running and thru-hike in my Teva Tirra Sport sandals. However, word of mouth is still influential in the thru-hiking community, and thru-hikers love talking about gear. These recommendations are based on what I’ve heard and seen from other thru-hikers.
➡️ For the trail runner recommendations below, the women’s photo links will be on the left (desktop) or top (mobile), while the men’s will be on the right (desktop) or the bottom (mobile).
Hokas have taken the thru-hiking world by storm in recent years. They’re highly cushioned, have bright colors, and are often described as “walking on a cloud.” Hokas are known for their wide toe box.
You’ll mostly see the Hoka Speedgoat (5mm drop) on long-distance trails.
Women’s
Men’s
Altras are still a go-to for thru-hiking despite some reports that they fall apart too quickly. The Altra Lone Peak is a zero-drop shoe. I did use a pair of these for trail running and liked them well enough, but I have not gotten a second pair. Altras are known for their wide toe box.
Topos are newer to the thru-hiking game but are starting to enter the scene. The Topo Ultraventure is the go-to for trail needs and has a 5mm drop. Topos are known for their wide toe box.
Solomons are still out there a bit, but they are not as common. If you see them, they’re usually the Solomon Sense Ride with an 8mm drop. These are narrower overall.
Sauconys occasionally pop up as well, and the best ones for trail are the Peregrines. I used one pair of these for trail running but found I needed a wider toe box after some testing. They have a 4 mm drop.
Finding the Right Socks for You
Finding the right socks for a thru-hike to avoid blisters while hiking deserves its own blog post.
However, in the meantime, to prevent hiking blisters, you want socks with the appropriate thickness for the weather.
Remember how heat and friction cause blisters? If your socks are too thick, they will cause heat.
Research which thru-hikes you want to hike and pick the cushion of your hiking socks accordingly. For example, if you’re hiking the Arizona Trail, you might want lighter cushion socks. On the flip side, if you’re on the Continental Divide Trail, you might want a medium-cushion sock.
If you’re unsure about the cushion, I recommend having one of each, plus separate sleep socks.
I’ve personally used a lot of hiking socks, and I always use Darn Tough medium cushion ankle socks. Since I hike in Teva Sandals, the medium-weight socks work even in hotter weather.
Darn Tough socks are also the most durable in my experience, and they have a lifetime warranty (no matter where you buy them!)
My (Veggie) Favorite Darn Toughs ⬇️
Karma’s Favorite Darn Toughs ⬇️
In contrast, I’ve ripped straight through countless pairs of Smartwool socks in very short time periods.
Lastly, some thru-hikers swear by Injinji Toe Socks for preventing hiking blisters. I personally dislike my toes being separated, but they’re popular enough to mention them.
If you specifically have toe blister problems, consider trying the Injinjis!
Taking Your Shoes and Socks Off Helps Avoid Blisters While Hiking
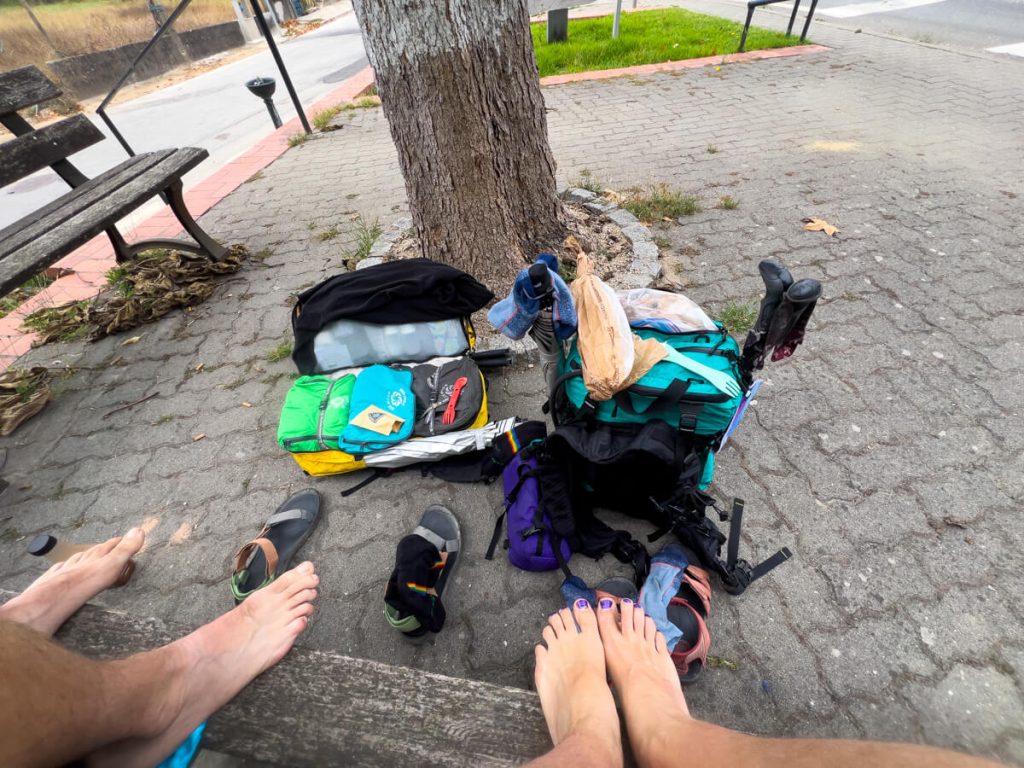
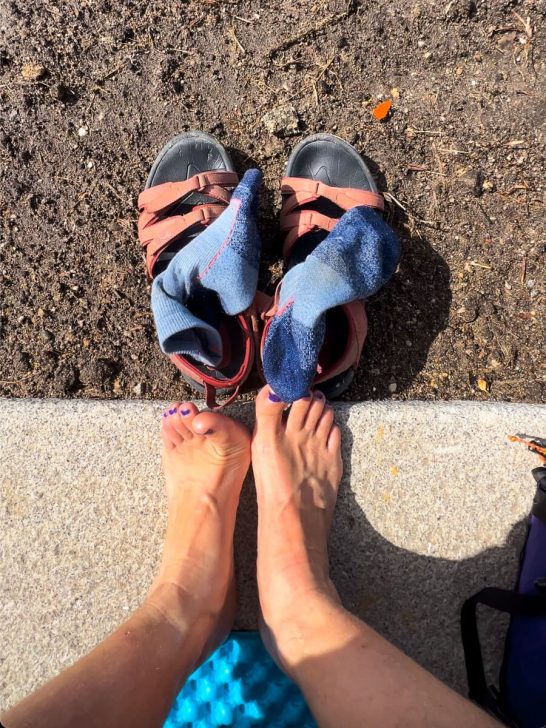
The number one thing I tell people to do to avoid blisters while hiking is to take their shoes and socks off during breaks.
Any break longer than 10 minutes where the weather is halfway decent…take them off.
This helps prevent your feet from getting hot and wet. Remember…blisters are formed from friction and heat. This is a chance to remove heat from the equation.
It can also remove friction because wet socks can add friction. And yes, your socks can get damp from sweat. This is a large part of why I choose to hike in sandals.
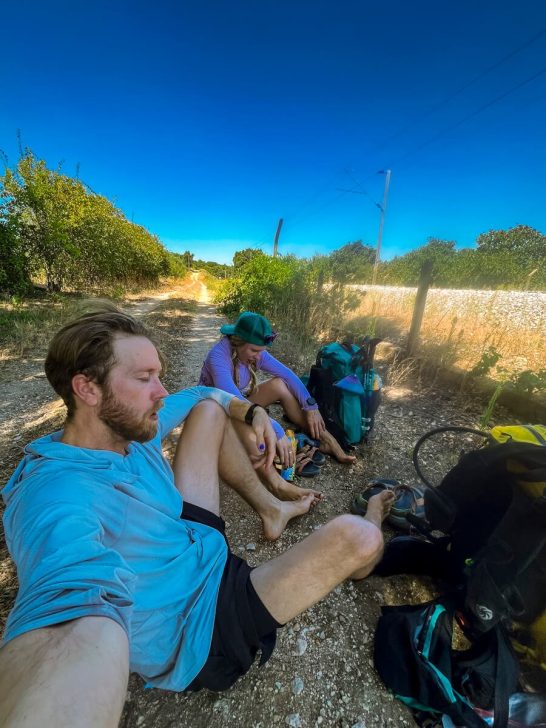
I’m also a strong advocate of taking a 15-minute break every 2-2.5 hours of hiking.
Many people stiffen up when they take breaks, so they keep going. However, this can often lead to injury.
If you take your shoes and socks off often, you give your feet a chance to air out and dry. If you’re looking at preventing hiking blisters, this is as easy as it gets sometimes.
Switch Your Socks After Sweat or Water
When thru-hiking or backpacking, you should always have three pairs of socks: two for hiking and one for sleeping.
Typically, I suggest alternating days with your two pairs of hiking socks.
However, if your feet are particularly sweaty and causing heat or friction, switch them mid-day. Securely attach the damp pair to the outside of your pack to dry. I like to wrap them around my umbrella handle with the attached string cincher.
Switching your socks mid-day can often allow you to avoid blisters while hiking. Just this past fall, I struggled with a hot spot, and the only relief I found was switching my socks at 2 pm. The hot spot went away, and I prevented a hiking blister.
The same can be true after you ford a river. Sometimes, you need to change your socks afterward. There’s nothing wrong with that. BUT…do not ford rivers barefoot without shoes or sandals!!!
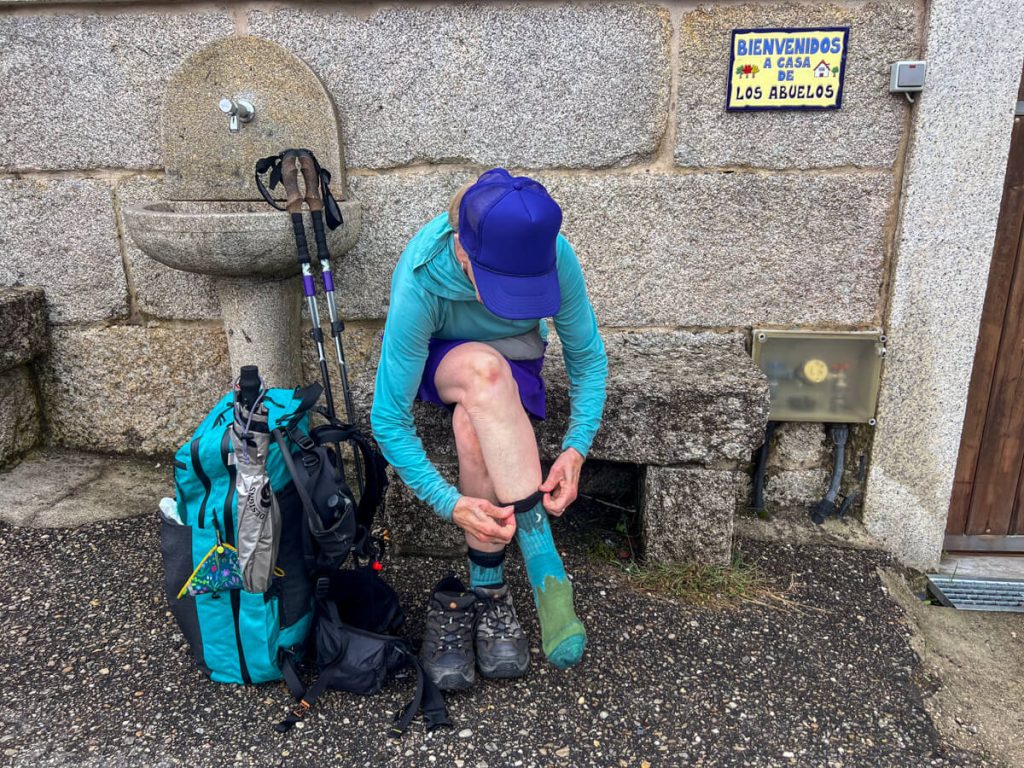
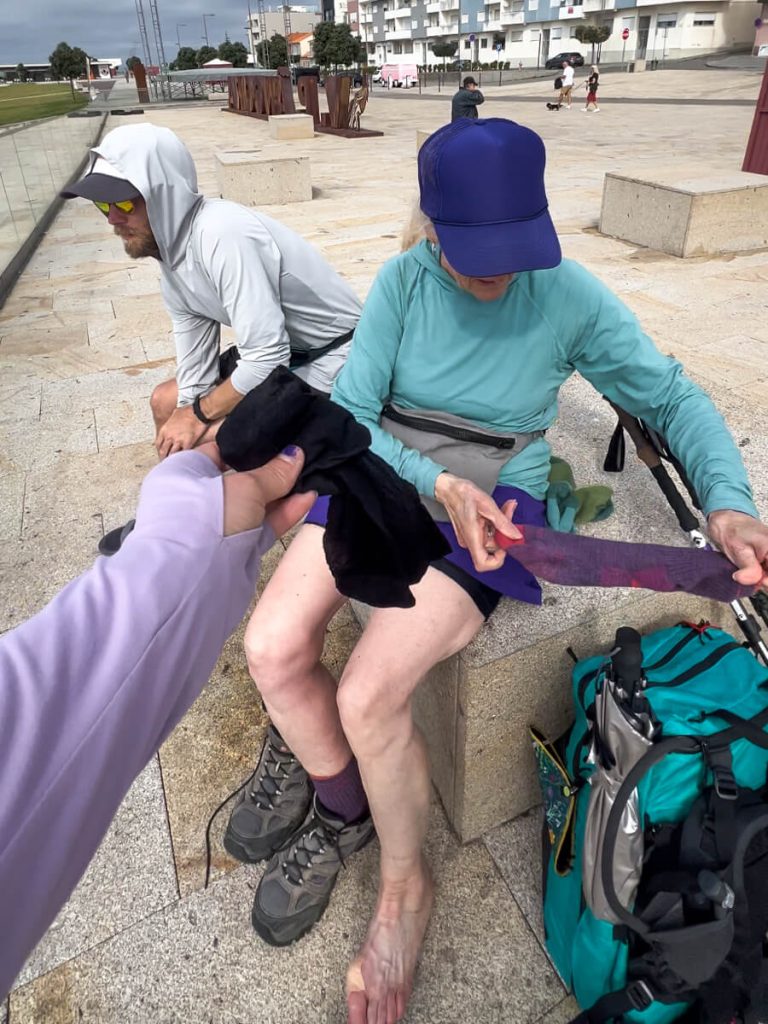
The Liner Sock Trick Against Friction Blisters
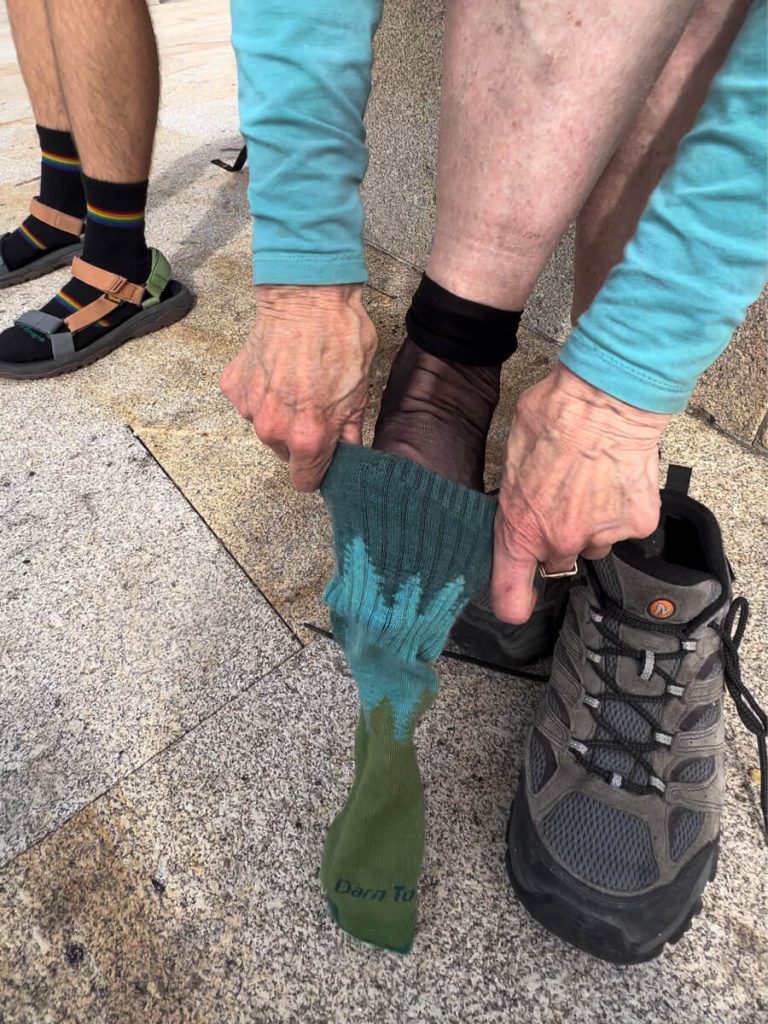
The liner sock trick is leftover from when I wore boots back in 2008. This trick works better for heftier footwear like heavy boots or thick trail shoes like the popular Merrill Moab Ventilators.
Essentially, you need cheap nylon crew socks. You can usually find them at any basic clothing retailer and often at dollar stores. Get two to go with your two pairs of hiking socks.
To use the liner sock trick to avoid blisters while hiking, you first put on the liner sock, then your hiking sock, and then your shoe.
The liner sock prevents hiking blisters by allowing friction to occur between the nylon sock and the hiking sock. This is opposed to the friction occurring between your foot and the hiking sock.
The downside to the liner sock trick is that it can cause more heat. Thus, if you’re using liner socks to prevent hiking blisters, you definitely need to take your shoes and socks off every break over 10 minutes to decrease heat.
This is one of the main tricks we used to keep my Mom’s blisters under control on the Portuguese Camino. Since it was fairly flat and quite hot, our steps were very similar. Her Merrills and medium-weight Darn Tough socks were just too hot for that particular trail. This helped prevent the blisters and hot spots from forming on the underside of the ball of her foot.
Modify Your Shoelaces or the Shoes Themselves


Once you buy gear, it is yours! You can modify it to suit your needs.
The easiest way to modify your trail runners is to change how your shoes are laced.
This process often takes some trial and error because it’s dependent on the individual foot and the exact trail runner.
However, you can pull and tighten the laces, so they’re looser in some areas than others.
You can also unlace them and skip holes where you need less pressure. For example, if the area around the ball of your foot is tight, unlace them and skip the first set of holes.
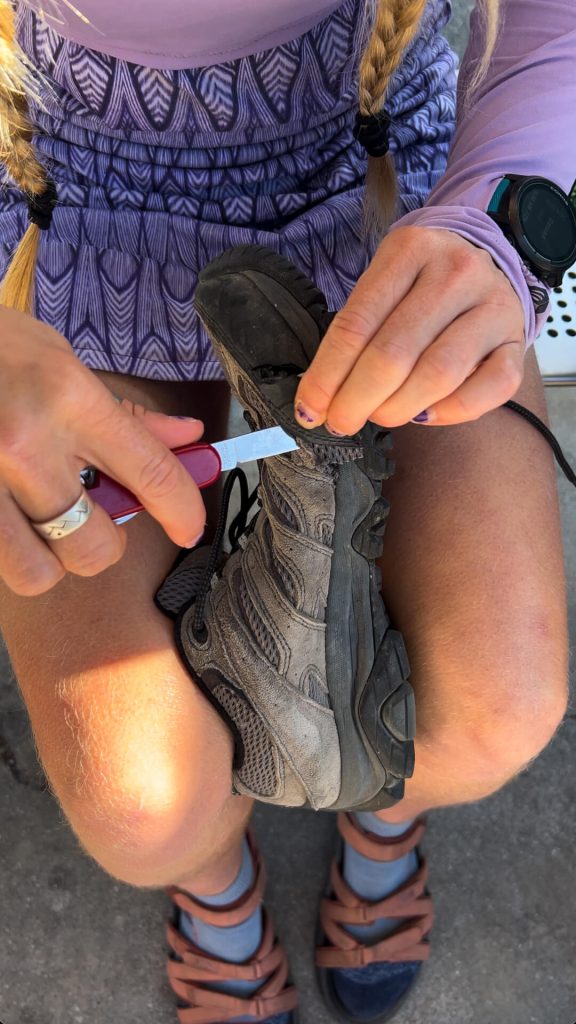
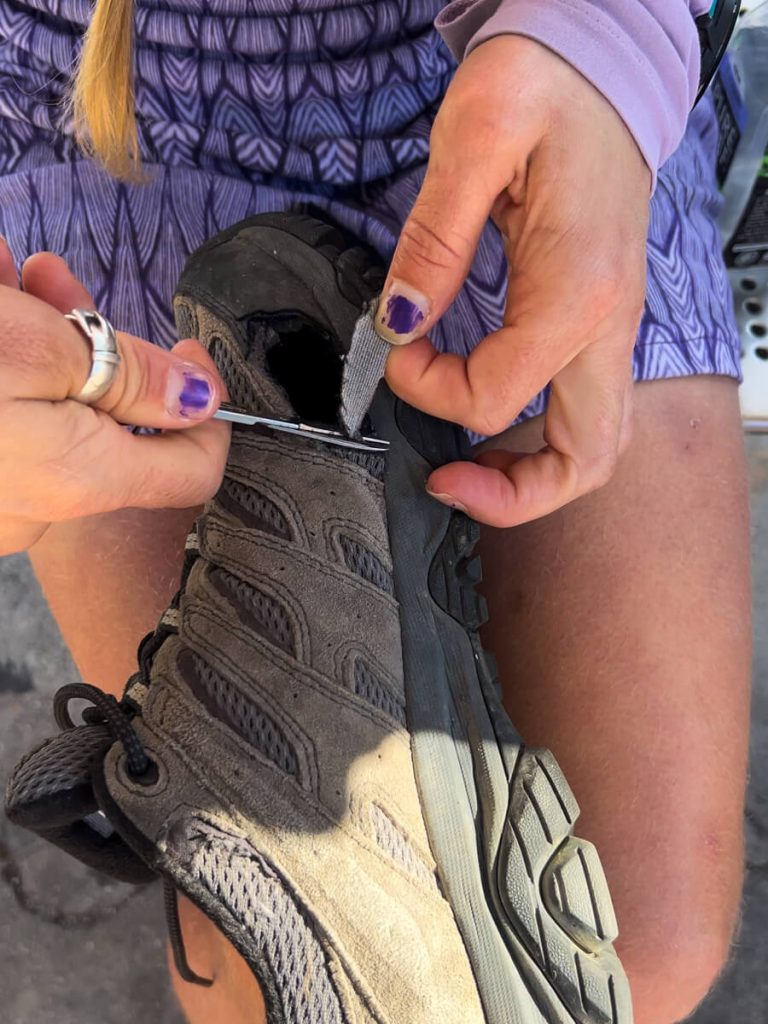
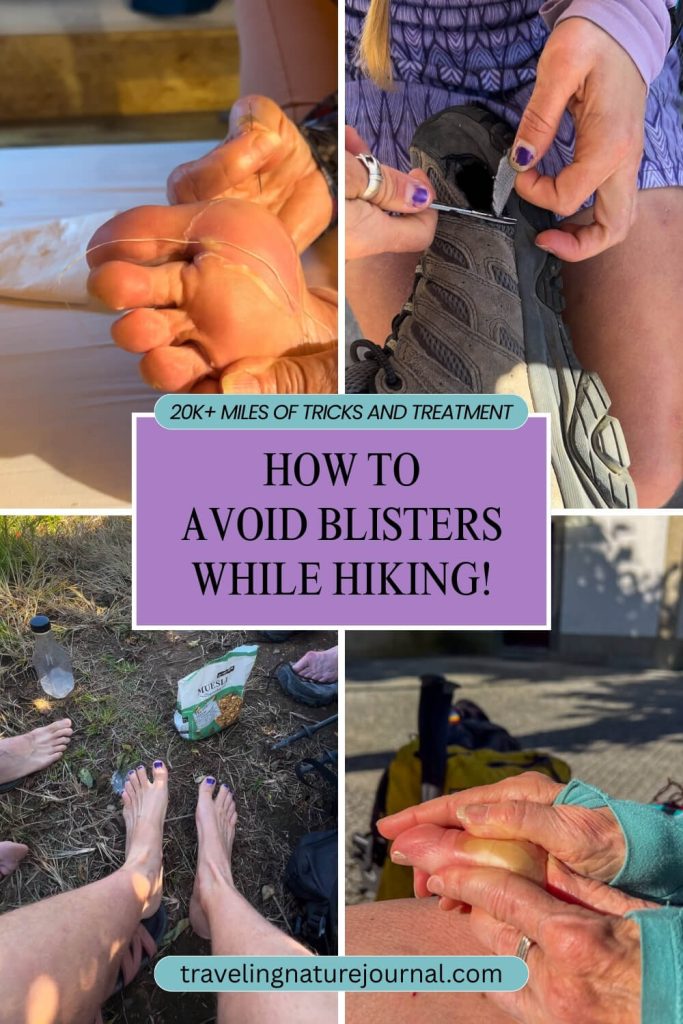
If adjusting the shoelaces doesn’t relieve pressure, don’t be afraid to cut into the shoe itself. You can go get a completely different pair of trail runners later. You need relief now to avoid blisters while hiking.
Hikers that should have sized up their shoes but didn’t often cut the toes out.
Another example: my Mom has large bunions. She has used Merrill Moab 3 Hiking Shoe forever, but the shoes became problematic with the backpack’s weight.
To fix it, we started slow and cut a rounded slit into the side of her shoe. This relieved some pressure. After a day, she told us it wasn’t enough, so we cut a full hole out of the side of her shoe. We did this in two parts, and she tested it until we cut out enough. This gave her bunion the needed room and prevented further hiking blisters (along with liner socks).
Best Blister Treatment for Hikers if Prevention Fails
Sometimes, despite our best efforts, we cannot avoid blisters while hiking.
It could be that we missed the warning signs of a hot spot. It could also be due to weather factors out of our control.
If you could not prevent hiking blisters, here are all my blister treatment methods.
Please note that these methods are only for hiking blisters (caused by friction and heat) and NOT for burn blisters, frostbite blisters, or chemical blisters!!!
I am not a physician, so if you feel uncomfortable with these methods, please seek assistance from a licensed professional.
Your best blister treatment is to leave the skin in place and not rip off the top layer!
Second Skin Blister Band-Aids
If you’re in the US, you’re looking for the Johnson and Johnson brand blister Band-Aids. I always bring some of the heel blister ones and some of the toe-specific ones. There are some off-brand ones, but they’re not as good.
If you’re in Europe, you’re looking for blister Band-Aids by Compeed. If you have larger blisters, ask the pharmacist for Hydrocoll.
Second skin blister band-aids are my go-to hiking blister treatment. These are best used in three ways.
First, you can use blister band-aids at the hot spot stage to avoid blisters while hiking. This is the ideal time: to prevent hiking blisters before they even start.
Second, you can use a blister band-aid over a small blister and hope it re-absorbs with the lack of friction. However, this is usually done when you can’t drain it properly and need to wait. It may not stop a hiking blister from getting worse. If you feel it getting worse, you need to drain it, dry it, then blister band-aid it, and change your socks.
Third, if you have a horrible hiking blister and the skin flap has unfortunately come off (bad), you can place it over the raw skin. This is not ideal but is meant to get you to a place to rest and care for it.
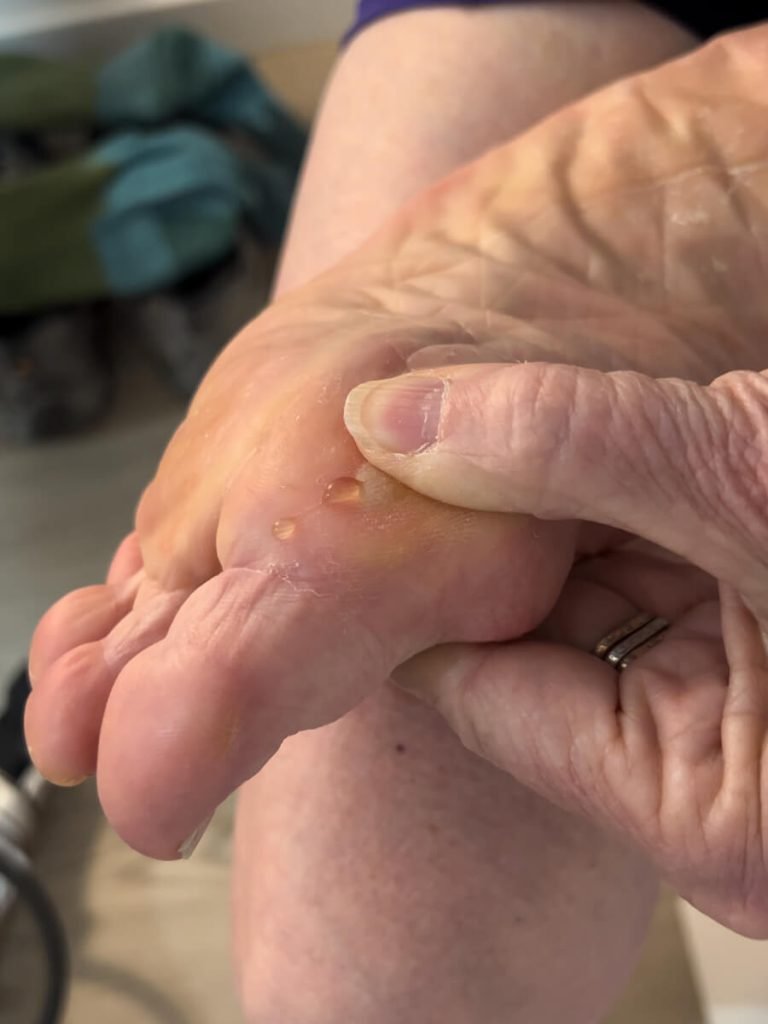
Needle and Thread Blister Trick
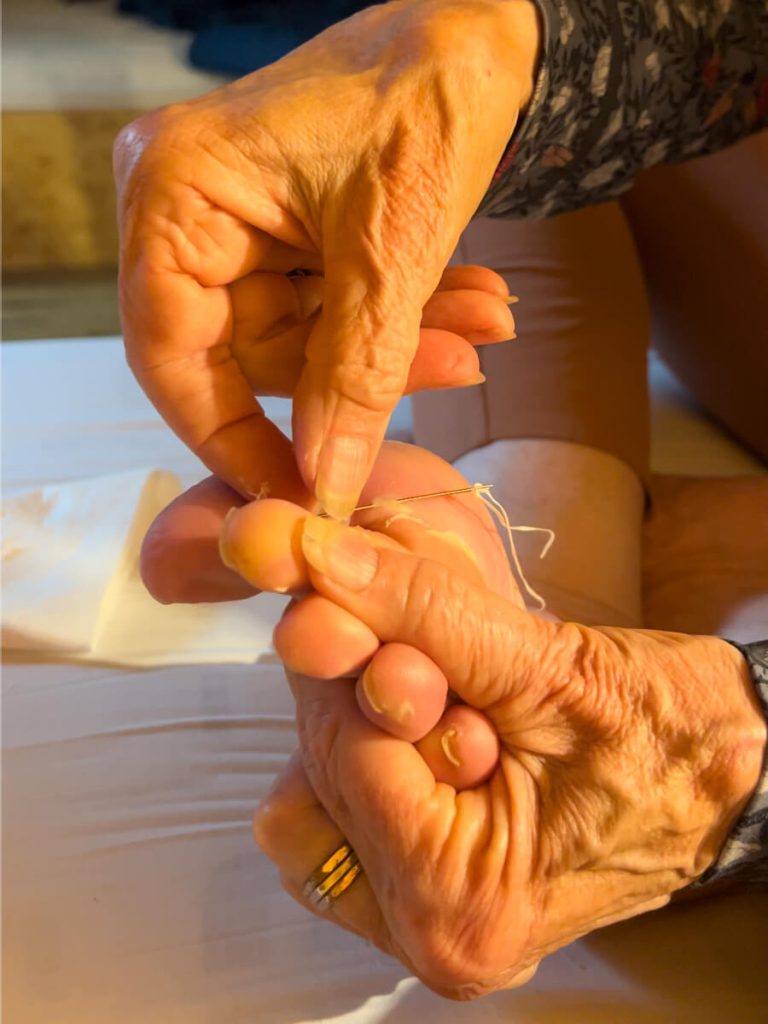

Do this trick at your own risk. The needle and thread blister treatment does run the risk of infection if not done correctly and cleaned sufficiently. It is best done by the person with the blister because they can feel where it’s painful and where it’s less painful.
Personally, I find it the most effective treatment when the blister is filled with liquid. The idea is to allow the blister to drain continually instead of refilling with liquid.
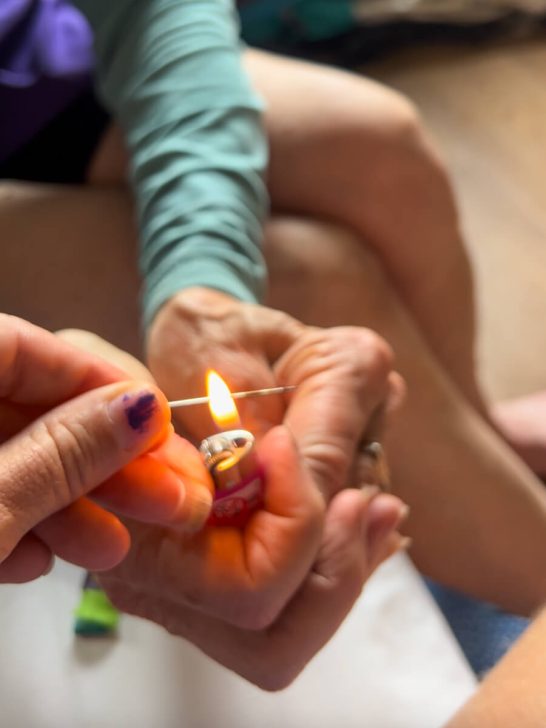
You want a standard, thin needle, regular string (not dental floss), a lighter, an alcohol pad, and small scissors.
Steps to use the Needle and Thread Blister Treatment:
- Wash your hands.
- Cut a piece of thread to about 4-6 inches.
- Use a lighter to sanitize the needle. Be careful of your fingers; the needle will get hot.
- Thread the needle with your string.
- Use an alcohol pad to wipe the blister and the surrounding area.
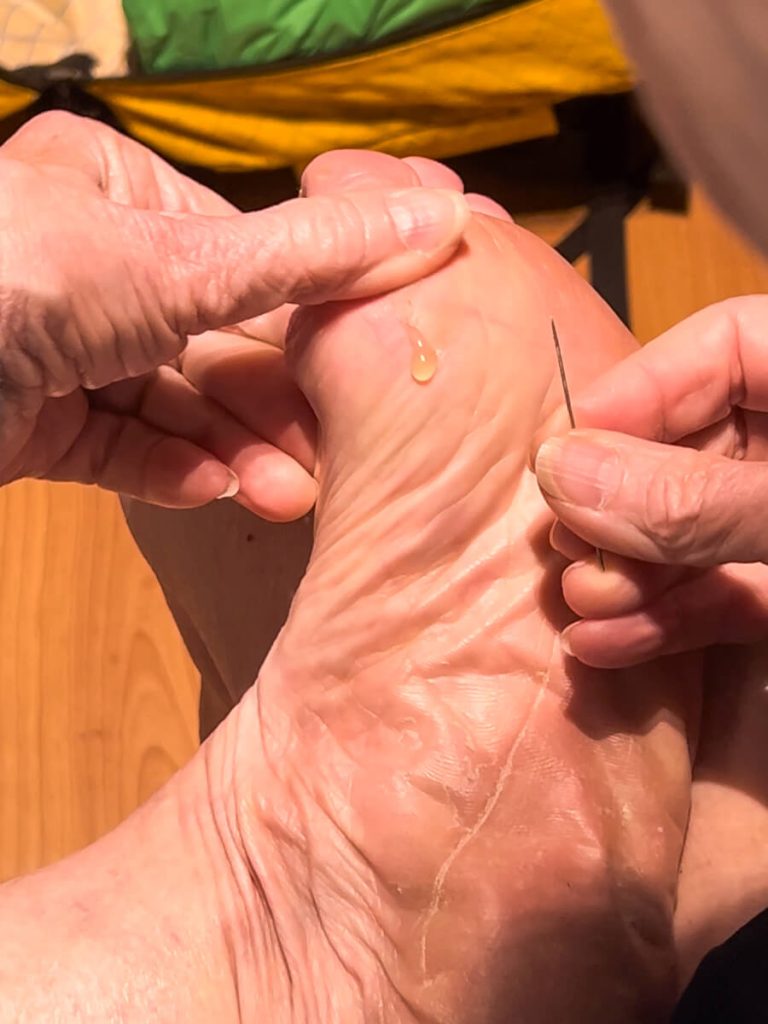
- Stick the needle into the blister and go through the blister to the other side. Sometimes, this is more painful than other times. Leave the string in!
- Take the needle off the string gently.
- Cut the string shorter so about an inch or so remains on either side of the blister holes.
You can now put your socks on and keep hiking. Or, you can do this at the end of the day and keep your socks off to allow for draining and drying.
The main theory here is to:
- Allow the blister to drain continually instead of letting it refill with liquid.
- Allow air through the holes to dry the area and help heal the skin underneath.
Sometimes, no matter what you do to avoid blisters while hiking, you’ll still get one. This is my go-to blister treatment if a blister happens and fills with liquid.
We used this trick consistently on my Mom’s blisters on the Portuguese Camino. While it helped, it did not fully solve her blister problems until we modified her shoes and got her liner socks.
Lastly, many thru-hikers only carry dental floss because it’s stronger than thread. This is one case that works better with actual thread. If you have to use dental floss, do not use the expandable one…it will fill the holes you’re trying to keep open.
Air Out Blisters on Rest Days
If you can’t prevent blisters while hiking, every chance you get to air them out is essential.
Each time you have a rest day, take time to air your feet out. Take time to prop up your bare feet and just rest.
This also applies to short days. If you take half a day off, air your feet out.
Airing your feet out is a great strategy to avoid blisters while hiking AND blister treatment if you get any.
If your hiking blisters get out of control, this is really the only treatment.
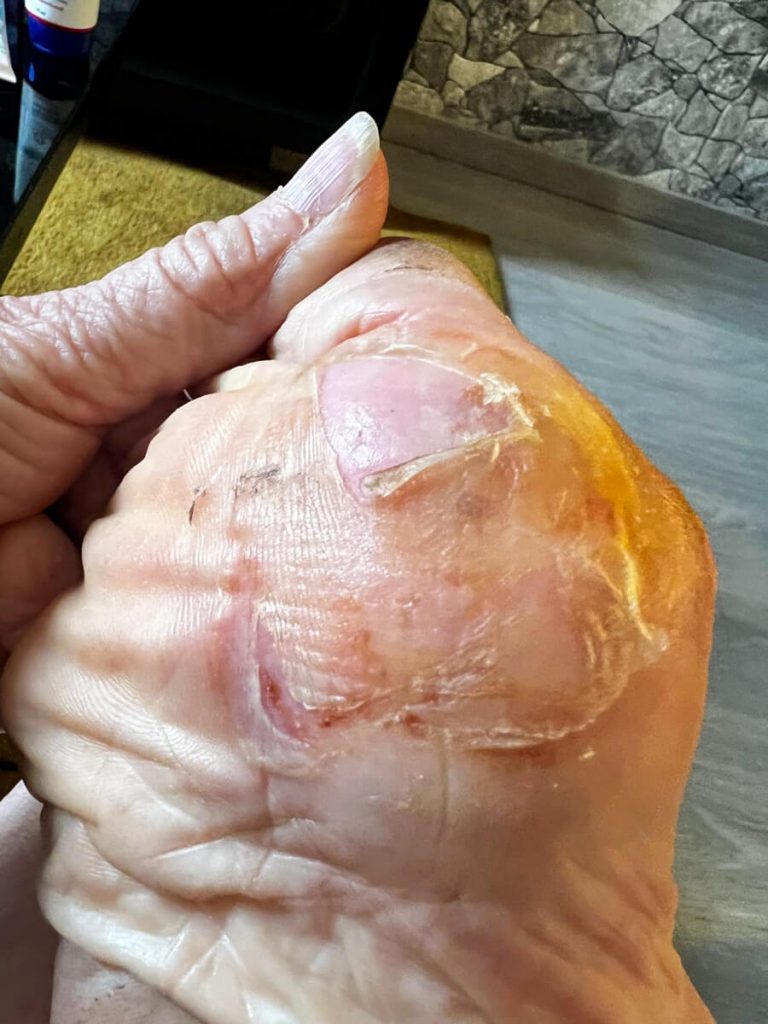
One of my Mom’s blisters burst in her shoe before we got to it on the Portuguese Camino. She found a pharmacy to get more aggressive treatment for them. They instructed her to rest and air them for 10 days. After she had properly rested and aired them, she could hike the rest of the way from Porto to Santiago and out to Finisterre.
Things NOT To Do on Hiking Blisters
The worst thing you can do to hiking blisters is ignore them.
You want to keep them clean and dry them out as much as possible. Little things become big. A small hot spot can become a horrendous hike-altering blister. Treat them while they’re small.
The second worst thing is taking off the top layer of skin. That is, UNLESS you have managed to dry out the skin underneath, and it has some level of healing.
Despite how gross the top layer of skin is, if you can keep air moving under it, it protects the raw skin underneath. Hence, resting with bare feet and the needle and thread trick.
You’ll notice that moleskin is not on this list. Personally, I have never gotten a moleskin to treat a blister effectively. Yes, you can create a moleskin donut. However, in my experience, it’s more likely to slip and cause another blister.
Lastly, don’t duct tape them. Duct tape and skin don’t mix well. You’re more likely to rip off the top layer of your skin. You can usually avoid hiking blisters using the same methods as treating them: air out your feet frequently.
Final Thoughts
After over 20,000 miles, I still have to proactively avoid blisters while hiking. It’s a continual, daily practice.
I ensure that I take breaks every 2-2.5 hours of hiking.
Each break that’s over 10 minutes, I take my socks and sandals off to air out my feet.
Every time I feel a hot spot, I stop and treat it. Little things become big.
I try different techniques until the hot spot goes away.
If a blister slips by unnoticed, I don’t ignore it. I use the needle and thread trick, and I air it out as much as possible at the end of the day.
You can avoid blisters while hiking if you pay attention most of the time. It takes an awareness of your feet on a level most are unaccustomed to having. Develop that sense and nurture it.
If you have a technique that you’d like to share, feel free to post it in the comments.
You’ve got this! Happy Trails!
📌 Pin It For Later!
Sharon
Tuesday 15th of April 2025
Mom here - I couldn’t have finished the hike without my daughter and her partner’s help. Her hiking knowledge plus her patience and understanding were key. Happy blister-free (hopefully) hiking!